
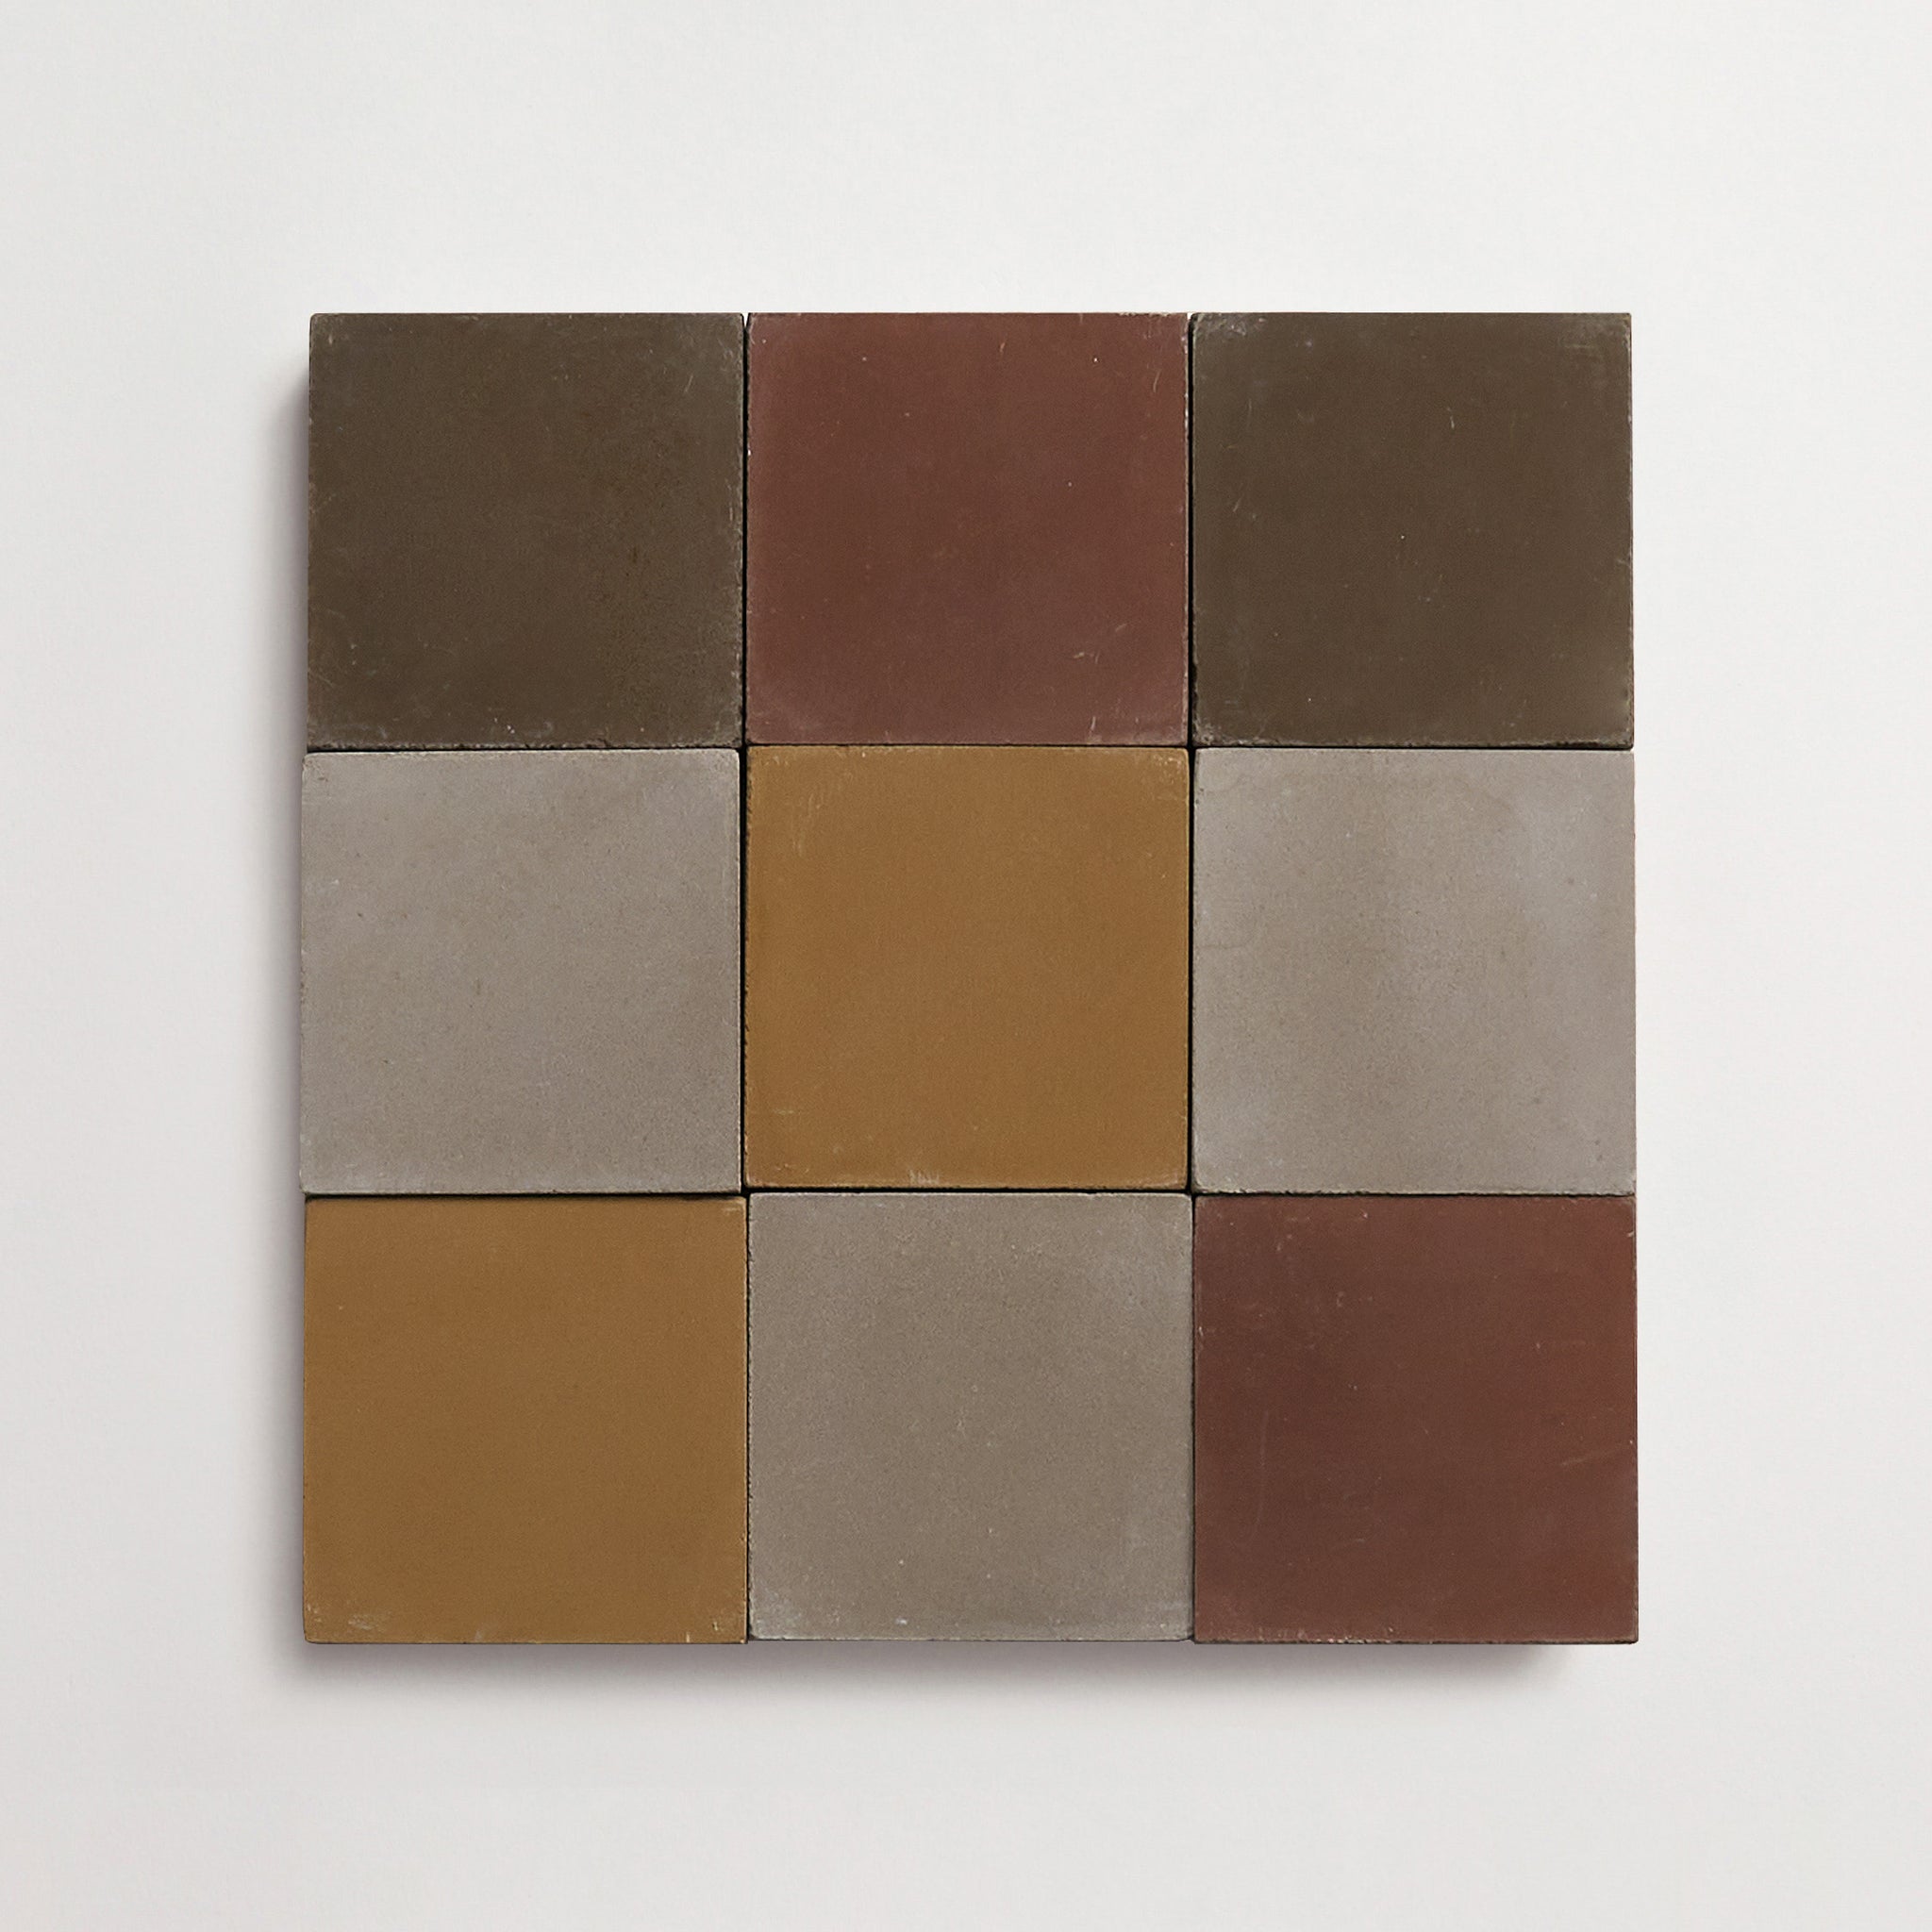
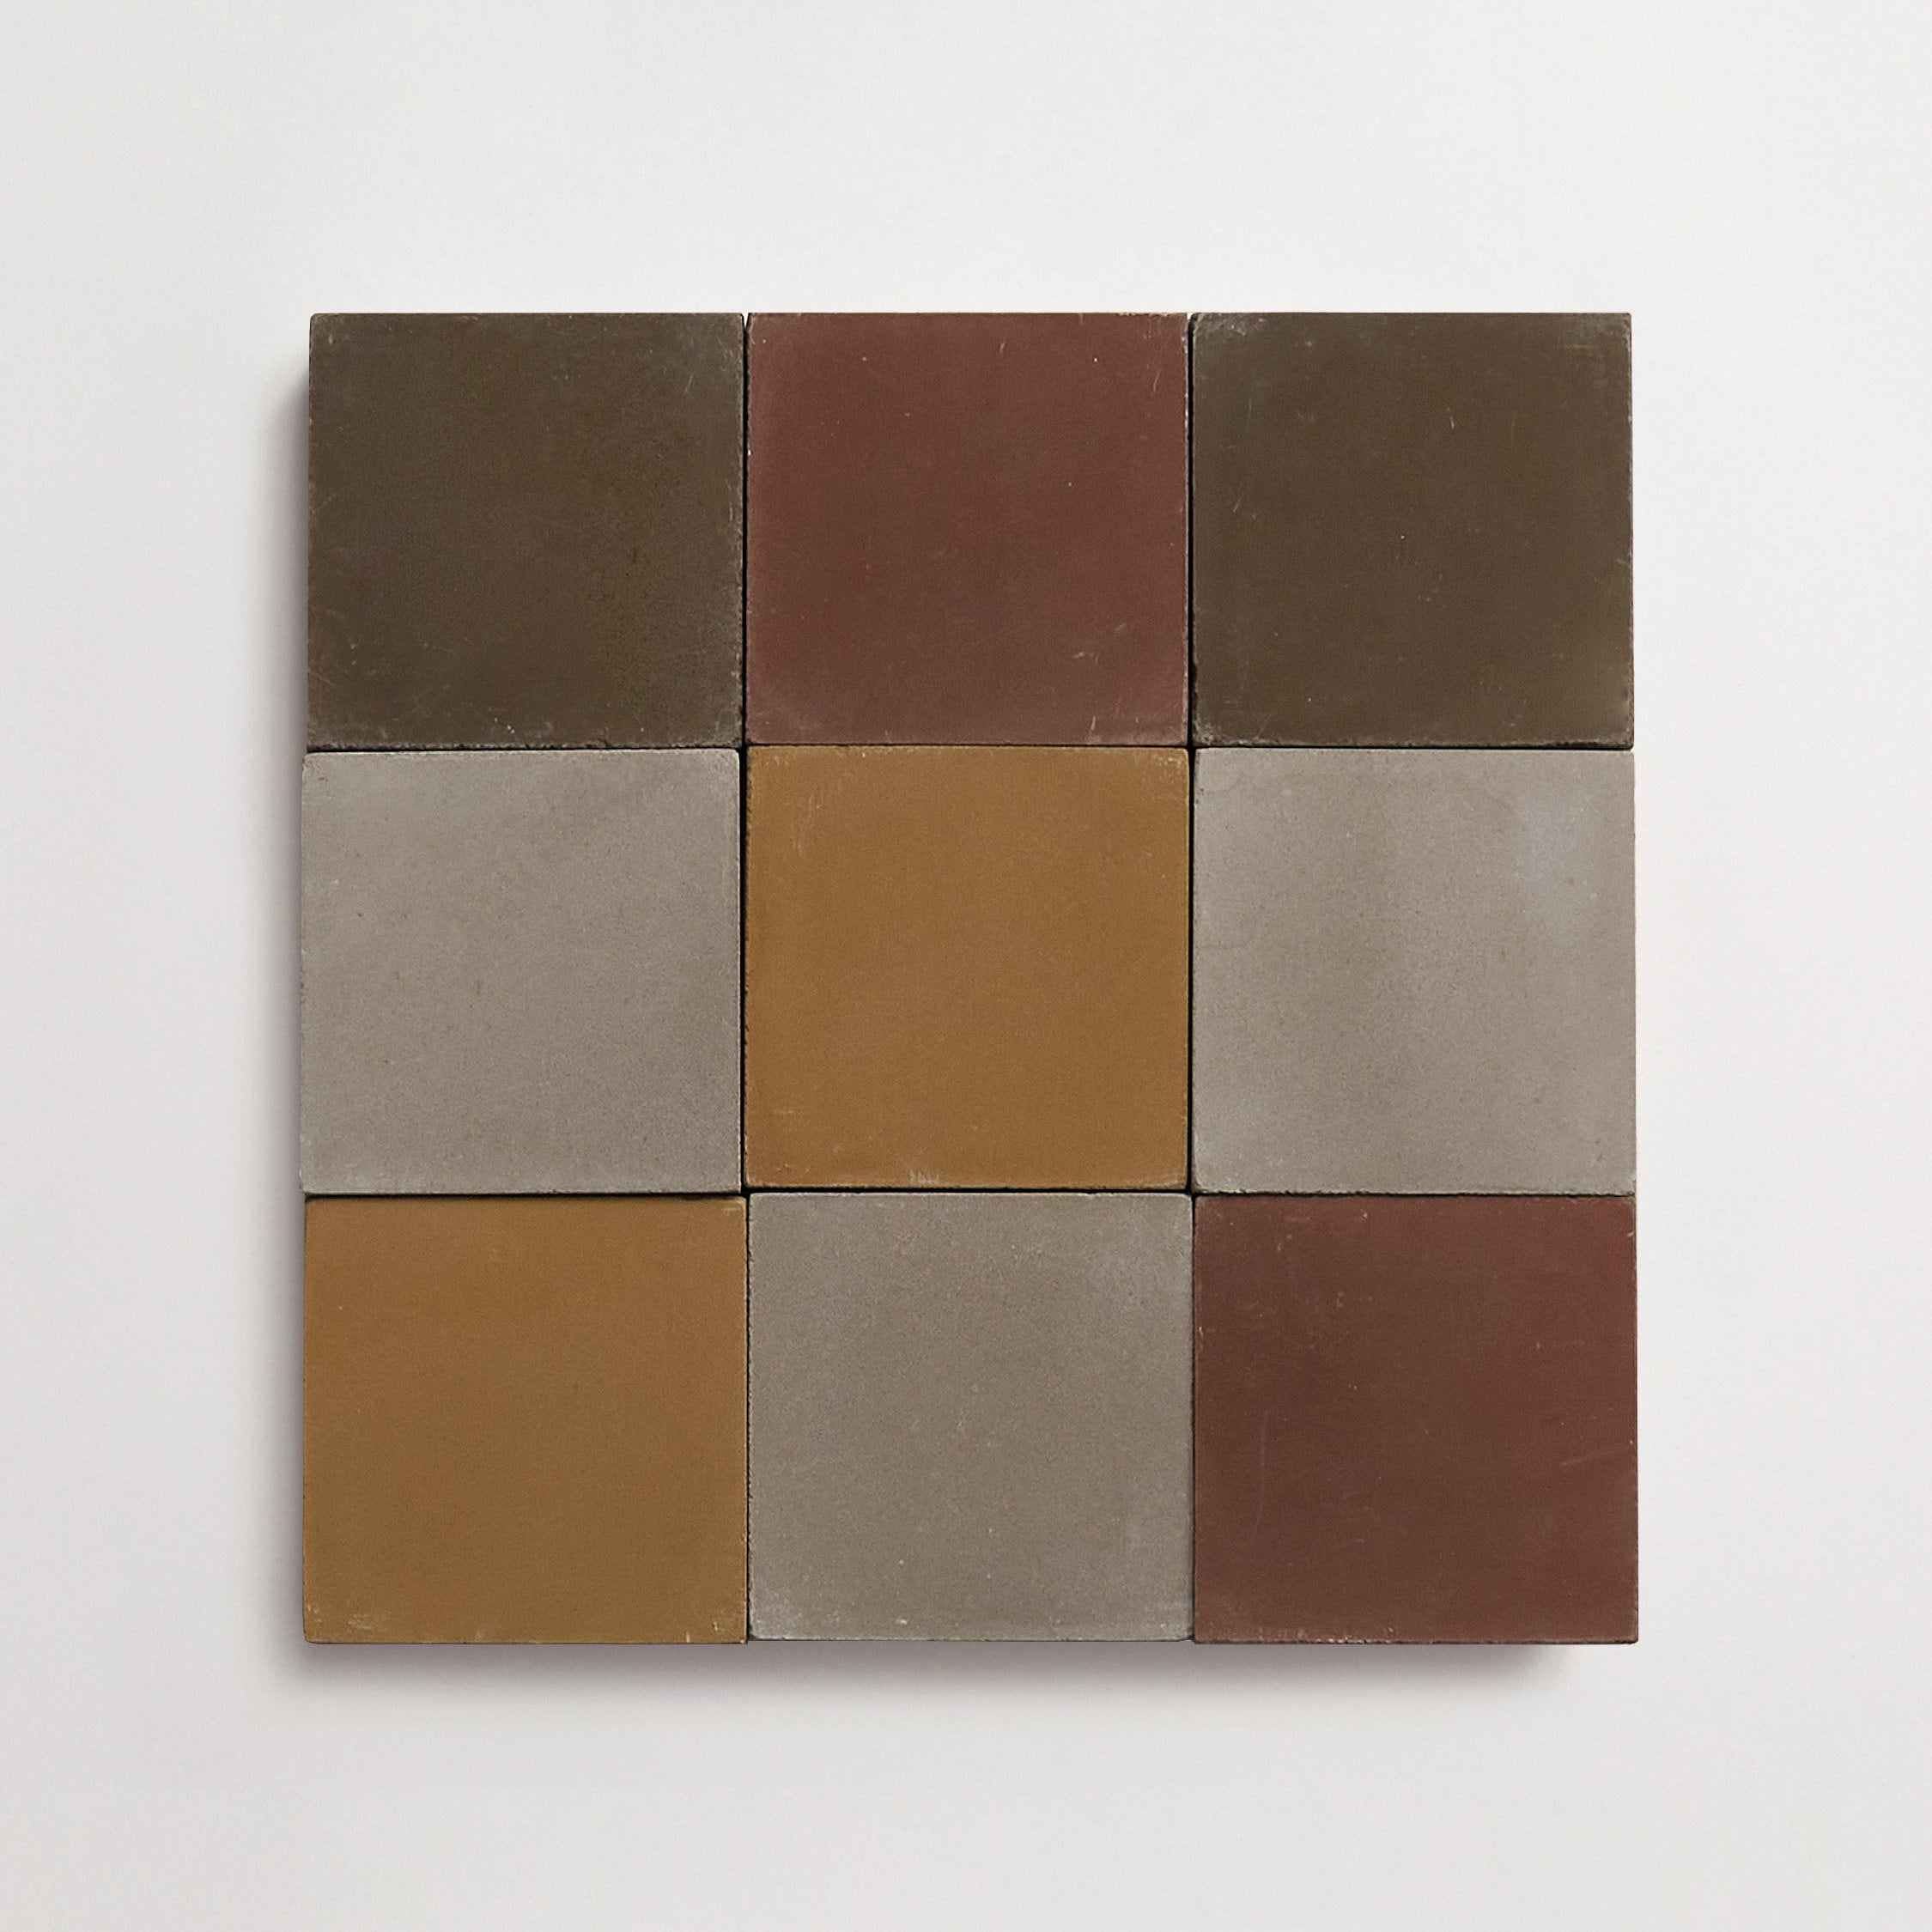
Dzek + Formafantasma: ExCinere, 2x8" Cigar + 2x4" Double Pixies, Verdigris H, Gloss
How Long Does Grout Need to Dry Before Walking, Cleaning, or Sealing?
Grout drying time is often treated as a box to check rather than a design-critical phase of a tile installation. But how long your contractor lets grout dry has a direct impact on the longevity, appearance, and performance of your project. Whether you’re specifying handcrafted materials or selecting durable porcelain tile, timing influences everything from color consistency to surface integrity.
The challenge is that grout often looks dry well before it actually is. That visual cue leads many people to rush ahead — walking on the surface, cleaning too aggressively, or sealing too soon. For design-forward installations, especially those involving artisanal tile, patience during this stage protects the investment and ensures the finished surface reflects the intent behind every material choice.

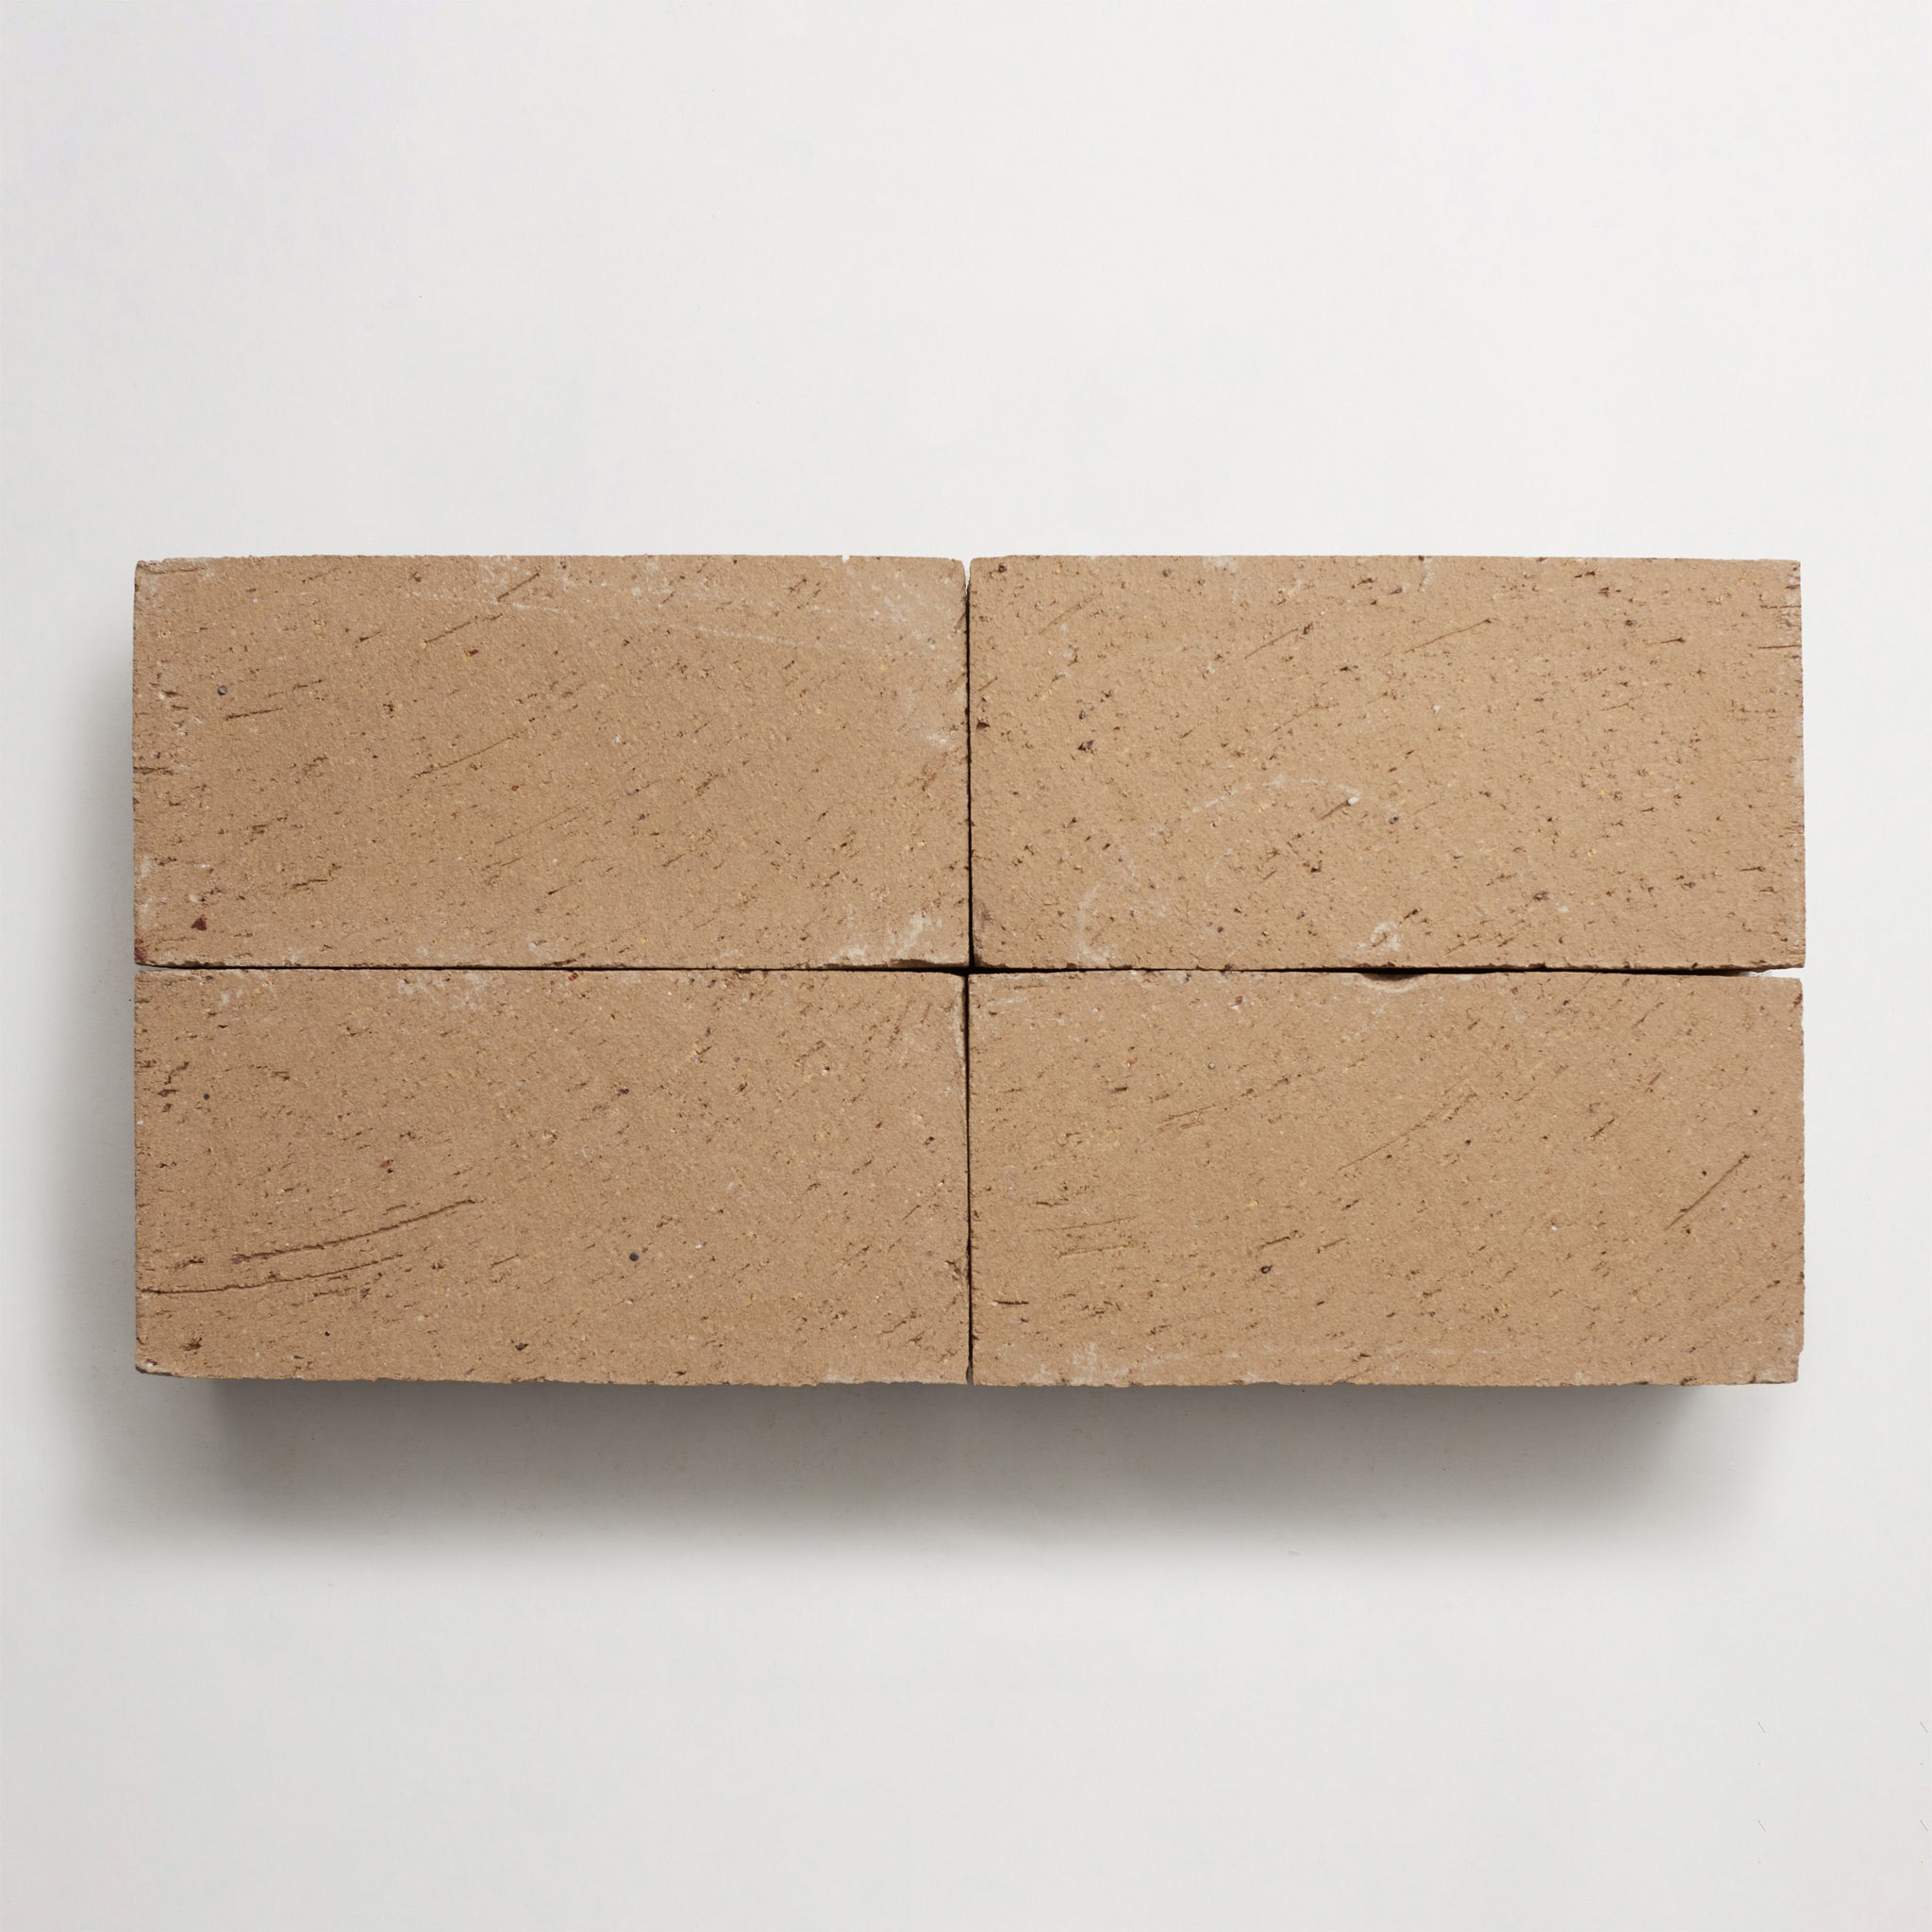
FezBrick, 1x8" Amulet, Natural, Unfinished. Photo courtesy of Kajetan Powolny.


How Long Does Grout Take to Dry?
If you’re looking for a fast, clear answer to how long does grout need to dry, you should know: Most grout types require at least 24 hours before light use. However, that baseline only tells part of the story. Drying time depends on grout formulation, environmental conditions, and the types of tile involved. Understanding these variables helps set realistic expectations and prevents missteps that compromise the final result.
Below, we break down typical timelines and explain why “dry” and “ready” are not always the same thing.
Average Drying Times by Grout Type
Different grout formulations behave differently once installed. Cementitious grout — the most common option — typically dries on the surface within 24 hours but may require up to 72 hours before it’s safe for light foot traffic. Epoxy grout sets faster and is more resistant to moisture, yet it still benefits from a 24-hour waiting period before use. Urethane grout often falls in the 24 to 36 hour range, though it can remain slightly tacky longer. In all cases, surface dryness doesn’t mean internal moisture has fully dissipated, which matters for sealing and cleaning schedules.
How Drying Times Differ From Curing Times
One of the most common misunderstandings is the difference between drying and curing. Drying refers to surface moisture evaporating, which is what you see and feel. Curing is a chemical process that allows grout to fully harden, often taking days or even weeks. This distinction is crucial when planning sealing timelines, specifying heavy-use areas, or working in wet rooms. Artisan tiles with irregular surfaces or higher porosity are especially sensitive to moisture retention. Letting grout fully cure before sealing or exposing it to stress ensures the installation performs as designed.
Why Grout Timing Matters for Design Outcomes
From a design perspective, grout timing directly affects visual outcomes. Rushing the process can lead to uneven grout color, persistent haze, or subtle surface changes that detract from the tile itself. With handcrafted materials, improper timing may alter how grout settles into textured edges or joints. For example, premature cleaning on zellige can disrupt how grout rests within its irregular profile.
Taking the time to let grout dry properly supports long-term durability and preserves the handcrafted character that makes these types of tile such an excellent choice for design-driven projects.

Environmental Factors That Affect Grout Drying
Even with the right grout, environmental conditions play a major role in how long it takes for grout to dry. Skilled installers pay close attention to humidity, temperature, and airflow because these factors influence both drying speed and final performance. Ignoring them can lead to cracking, discoloration, or extended curing times that delay project completion.
Humidity, Airflow, and Temperature
High humidity slows evaporation, extending drying times and sometimes causing blotchy grout color. Meanwhile, low humidity paired with strong airflow can dry grout too quickly, increasing the risk of cracking. Cold temperatures delay curing, while hot temperatures cause rapid moisture loss.
The best practice is to maintain a stable environment with moderate airflow and temperatures within manufacturer recommendations. This balance allows grout to dry evenly, supporting structural integrity and consistent appearance across different colors and finishes.
Indoor vs Outdoor Installations
Outdoor installations introduce additional variables. Direct sun, wind, rain exposure, and temperature swings all affect how grout behaves. Projects involving laying travertine outdoors or installing patio tiles over concrete often require longer waiting periods to account for environmental stress. Wind can dry the surface too fast, while cool nights slow curing beneath the surface. Compared to indoor work, outdoor projects benefit from extended drying times and careful scheduling to avoid weather-related setbacks.
How to Support Proper Drying Conditions
Supporting proper drying conditions doesn’t require elaborate equipment, but it does require restraint. Your contractor should maintain consistent airflow without strong drafts, avoid pointing space heaters directly at freshly grouted areas, and keep HVAC vents from blowing directly across the tile surface. They should also aim for a stable temperature range recommended by the grout manufacturer. These steps protect the tile investment and are especially important when working with artisanal materials where subtle surface details matter.


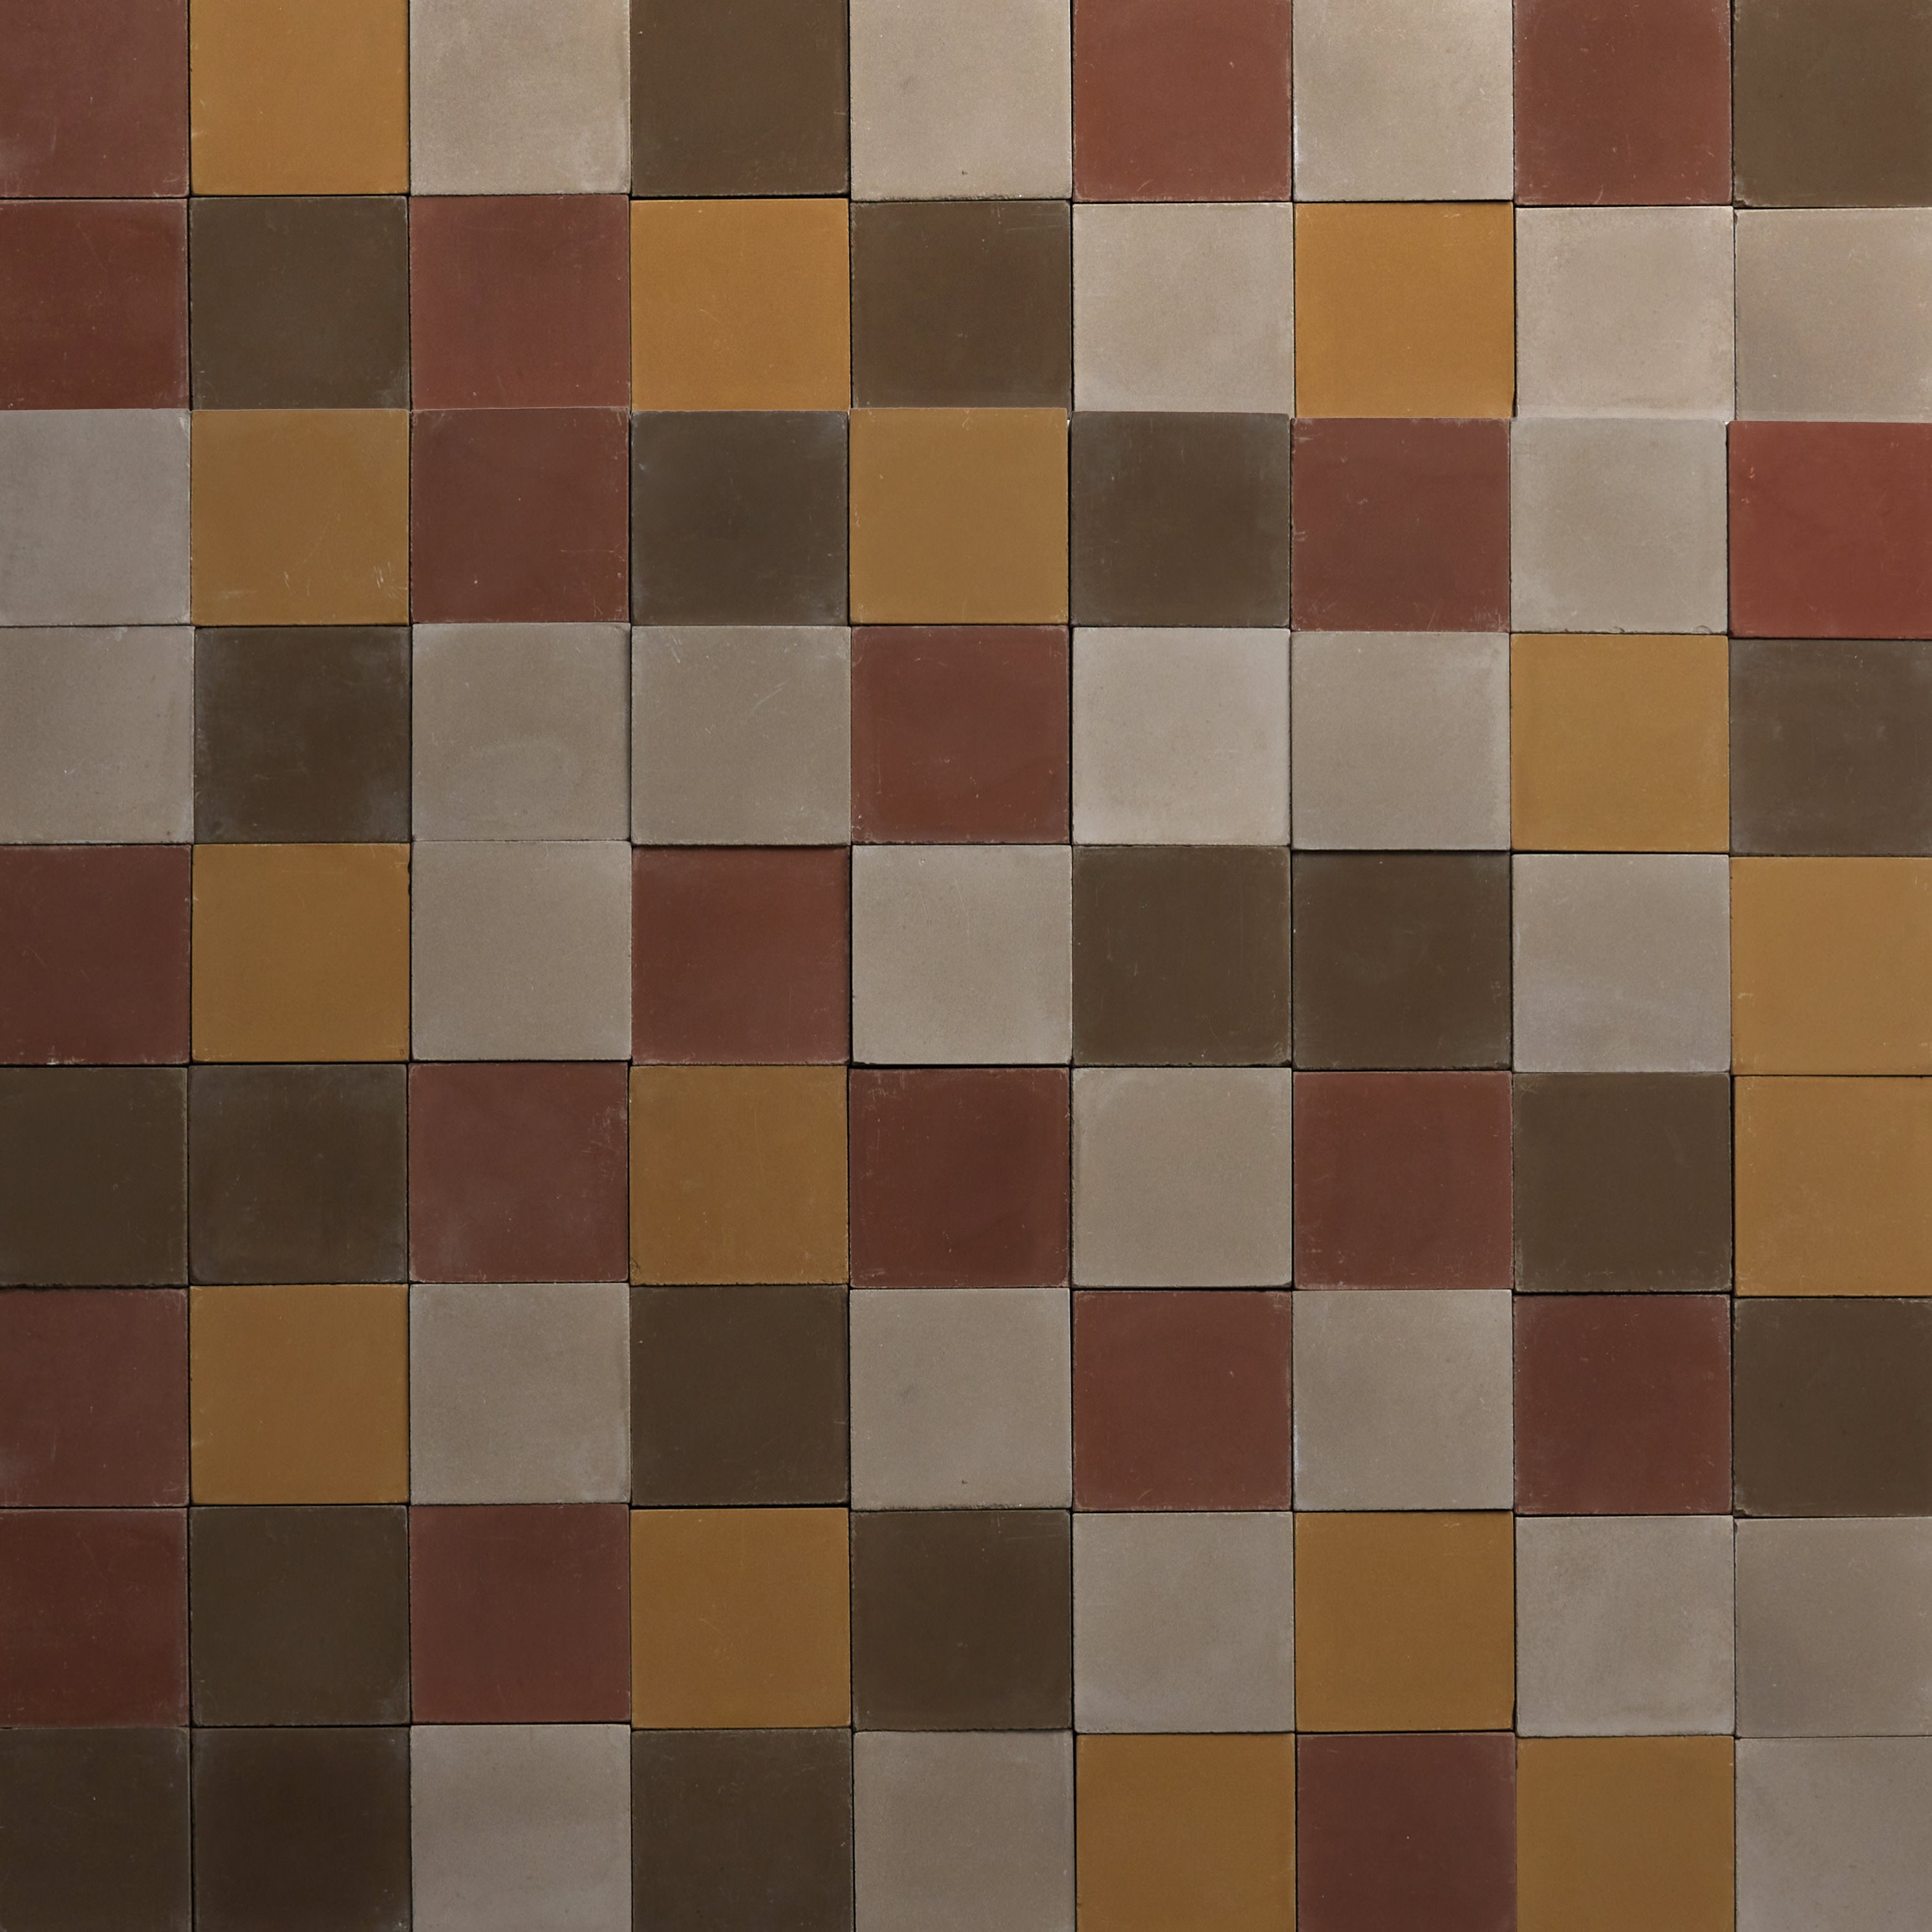
How Grout Behaves With Our Artisan Tile Materials
Handcrafted tiles interact with grout differently than manufactured options. Their porosity, texture, and natural variation influence how moisture moves through the installation. Understanding this behavior helps designers and installers plan appropriate drying and curing timelines.
Zellige Tile: High Porosity and Glaze Considerations
Zellige tiles have a porous clay body, allowing them to absorb moisture from grout. This absorption can temporarily darken tile edges and slow overall drying. Proper wiping techniques and timing are critical to haze control and grout placement. Because the tile draws moisture inward, drying times may be longer than expected. Patience ensures grout settles naturally within irregular edges, enhancing the handmade aesthetic rather than fighting it.
Cement Tile: Sealing and Moisture Absorption
Cement tile is unglazed and highly absorbent, making moisture exchange a major factor. Pre-sealing and post-sealing both influence how long grout takes to dry. Grout may temporarily stain or darken the tile, and moisture trapped beneath the surface can prolong curing. These characteristics make cement tile a perfect choice for richly layered surfaces, but they demand careful preparation and realistic timelines to achieve the best results.
Terracotta Tile: Porous Texture and Timing
Natural terracotta is among the most porous tile materials available. It absorbs and releases moisture slowly, meaning grout can appear set on the surface while remaining damp underneath. Pre-sealing often changes the drying timeline by limiting absorption, but it doesn’t eliminate the need for patience. Following recommended care and sealing techniques helps preserve terracotta’s warmth and texture while preventing moisture-related issues during curing.

When Can You Walk on, Clean, or Seal the Tile?
This is the most practical — and most frequently searched — question we see surrounding grout. While timelines vary, the guidance below helps translate technical details into actionable steps for your project.
Walking on Freshly Grouted Surfaces
In most cases, light foot traffic is acceptable after 24 hours. However, artisan materials often benefit from waiting longer. Avoid dragging furniture or heavy items across the surface during this period. Walking too soon can compress grout, cause cracking, or create color inconsistencies that are difficult to correct later. Waiting an extra day is often the best choice for preserving a refined finish.
Cleaning Without Damaging Grout or Tile
Light surface cleaning is usually safe after 24 to 48 hours, once the grout has set on the surface. Deep cleaning should wait until the grout has fully cured. Materials like zellige and cement tile require gentle methods to avoid disrupting grout lines or staining the tile. Haze removal also benefits from proper timing — cleaning too early can smear residue, while waiting allows it to release more cleanly.
When and How to Seal Grout and Tile (If Needed)
Sealing schedules vary by grout and tile type. Cement tile often requires sealing both before and after grouting, while terracotta needs a sealing plan tailored to its porosity. Grout sealing typically happens after at least 72 hours, once internal curing has progressed. Proper sealing supports long-term performance, enhances resistance to staining, and maintains the integrity of different types of tile across a variety of colors and applications. Always be sure your contractor is referring to the products’ material guidelines when completing these steps.
Letting Grout Dry: Patience Is Key
Grout drying time isn’t just a technical requirement — it’s a design safeguard. Allowing grout to dry and cure properly protects color consistency, surface texture, and overall durability. Whether you’re specifying porcelain tile, working with handcrafted materials, or detailing complex outdoor installations, timing plays a critical role in how a finished surface performs.
By understanding how long it takes for grout to dry before walking, cleaning, or sealing, you can plan smarter timelines and avoid common pitfalls. Environmental conditions, material choice, and grout type all factor into the equation, making patience a solid choice for long-term success.
Here at OUTERclé, we believe that thoughtful material selection and informed installation practices go hand in hand. Explore our curated collection to find the best choice for your next project — from artisan surfaces to durable options suited for the backyard, outdoor living areas, and beyond.


Colorway
-
Pampas Grass
Collection
-
BrickWorks
:
Sub Collection
-
Acquiterre
Material
Length
-
4
" x
Width
-
4
" x
Thickness
-
¼
"
Unit of Measurement
-
sqft
/
Price per Unit
$
Colorway
-
Black Cardamom
Collection
-
Colore Frattura
:
Sub Collection
-
le Disque
Material
Length
-
8
" x
Width
-
8
" x
Thickness
-
⅞
"
Unit of Measurement
-
sqft
/
Price per Unit
$
Colorway
-
Rick's Rose
Collection
-
Colorwerks
:
Sub Collection
-
Helios
Material
Length
-
4
" x
Width
-
16
" x
Thickness
-
¾
"
Unit of Measurement
-
sqft
/
Price per Unit
$