
Tiling & Repairing a Pool Waterline with Artisan Tile
The waterline tile in a modern residential pool serves as both a functional barrier against water infiltration and a defining aesthetic element. For interior designers and landscape architects, artisan tile is an excellent choice to achieve a bespoke look that harmonizes with the surrounding environment.
Unlike off‑the‑shelf solutions, artisan tiles — whether porcelain tile, hand‑cut glass tile, mosaic pool tile, or something else entirely — offer a level of customization that elevates a project from ordinary to extraordinary. Given the intricacy of pool tile and the specialized installation techniques required, we always recommend partnering with an experienced professional rather than taking a DIY approach.
In this article, we explore the process of tiling a pool waterline with artisan tile and outline best practices for both new installations and repair work, all to ensure that your project maintains the craftsmanship and durability clients demand.
Begin your design journey with our curated selection of artisan pool tiles, crafted to transform any waterline into a work of enduring beauty.


Tiling a Pool Waterline with Artisan Tile: What the Process Looks Like
Before breaking ground, a professional (or team of professionals) will establish the scope of work and scheduling. They’ll also specify tile, grout color, sealant, and other important details. From blending the tile for a balanced look to ensuring the new tile adheres perfectly, each phase demands precision and expertise.
The following steps illustrate how trained professionals approach a pool tile installation project, emphasizing quality control at every turn. So, whether your project calls for striking blue waterline tile or the modern drama of black pool tile, this process can transform the pool’s visual impact while maintaining structural integrity.
Step 1: Evaluating the Existing Waterline and Pool Structure
A thorough evaluation begins with inspecting the pool’s shell for cracks, chips, or substrate degradation. Professionals also check for calcium deposits that could impair adhesion and test the waterproofing membrane beneath the coping. In addition, they document any structural movement or shifting that might necessitate reinforcing the substrate.
This step helps installers (and the designers they partner with) select the best types of tile and bonding agents for long‑term performance. It also helps mitigate future issues with tile discoloration and grout color fading — key considerations for maintaining a pristine and bespoke finish.
Step 2: Sourcing the Right Waterline Tile
Selecting the ideal tile involves balancing aesthetic vision with technical requirements. Ceramic tile — more specifically, porcelain tile — offers durability and a wide range of color options, from glazed blues to neutral tones that complement surrounding stonework. Meanwhile, glass tile brings a reflective quality, enhancing the water’s shimmer. And for clients seeking an eclectic pool tile pattern, mosaic tile is an excellent choice.
Whether opting for the deep hue of black pool tile or the soft pastel of light blue waterline tile, sourcing your tile from a reputable purveyor ensures that the installation process goes smoothly — and that your client will be happy with the results.
Step 3: Preparing and Leveling the Surface for Optimal Bonding
Achieving a level substrate is crucial before any tile can be set. Specialists remove any old grout and residue, then sand or shot‑blast the surface to eliminate contaminants. Then, they apply a leveling compound to address any uneven spots, creating a flat plane for the tile. Precision laser levels can help installers verify flatness within millimeters across the entire waterline.
Not for the faint of heart, this meticulous preparation prevents future cracking and lippage, upholds tile warranty requirements, and preserves the artisan craftsmanship that clients expect. Proper surface prep is a foundational element that really separates DIY work from professional installation.

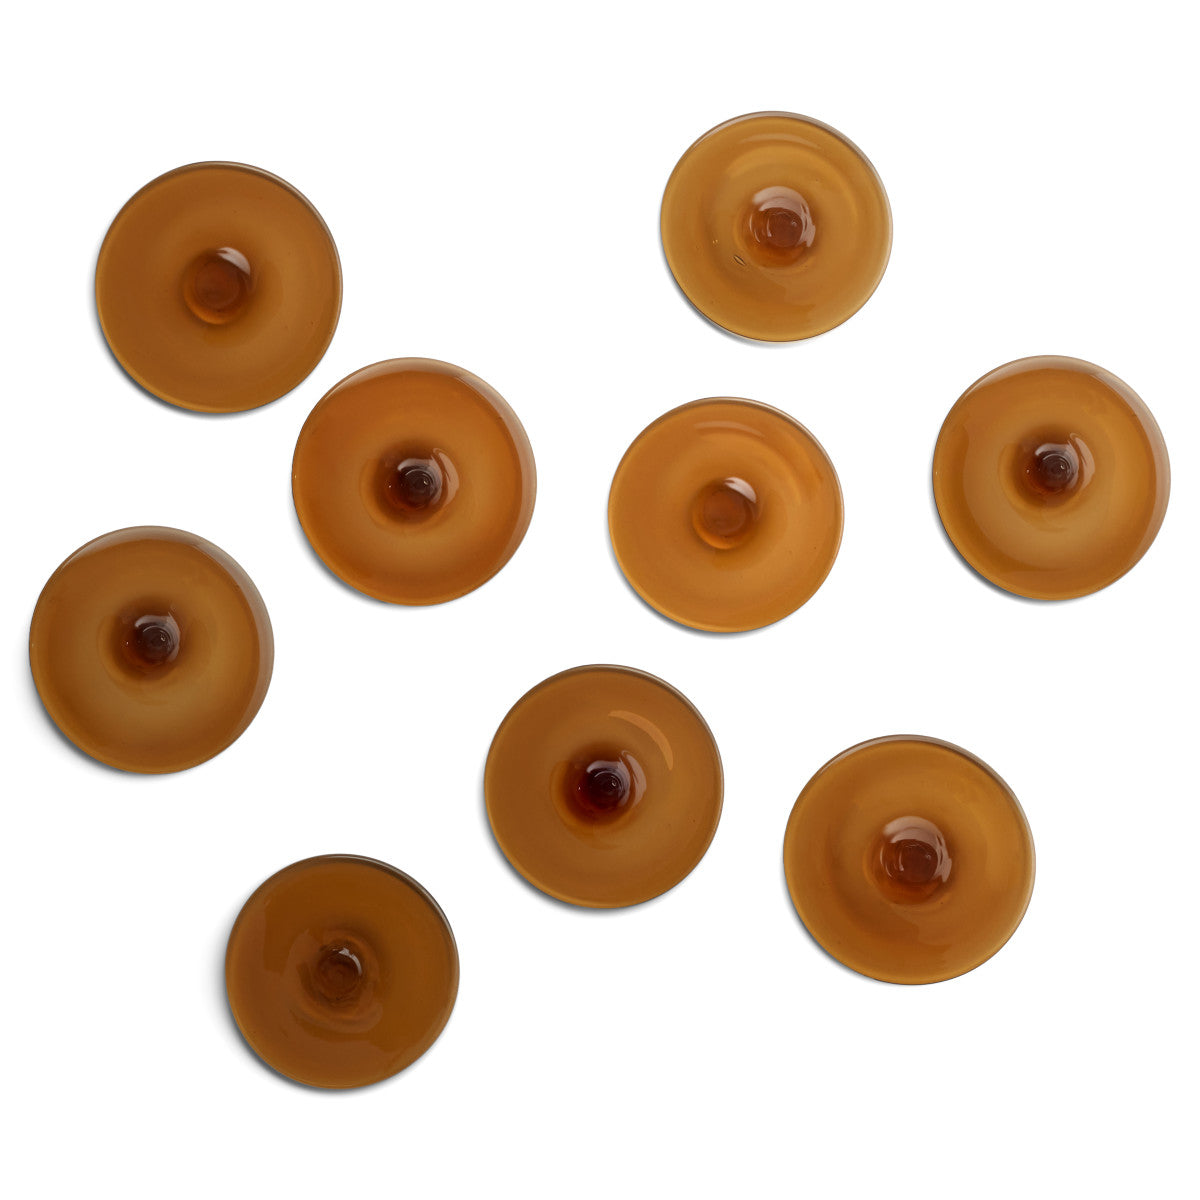
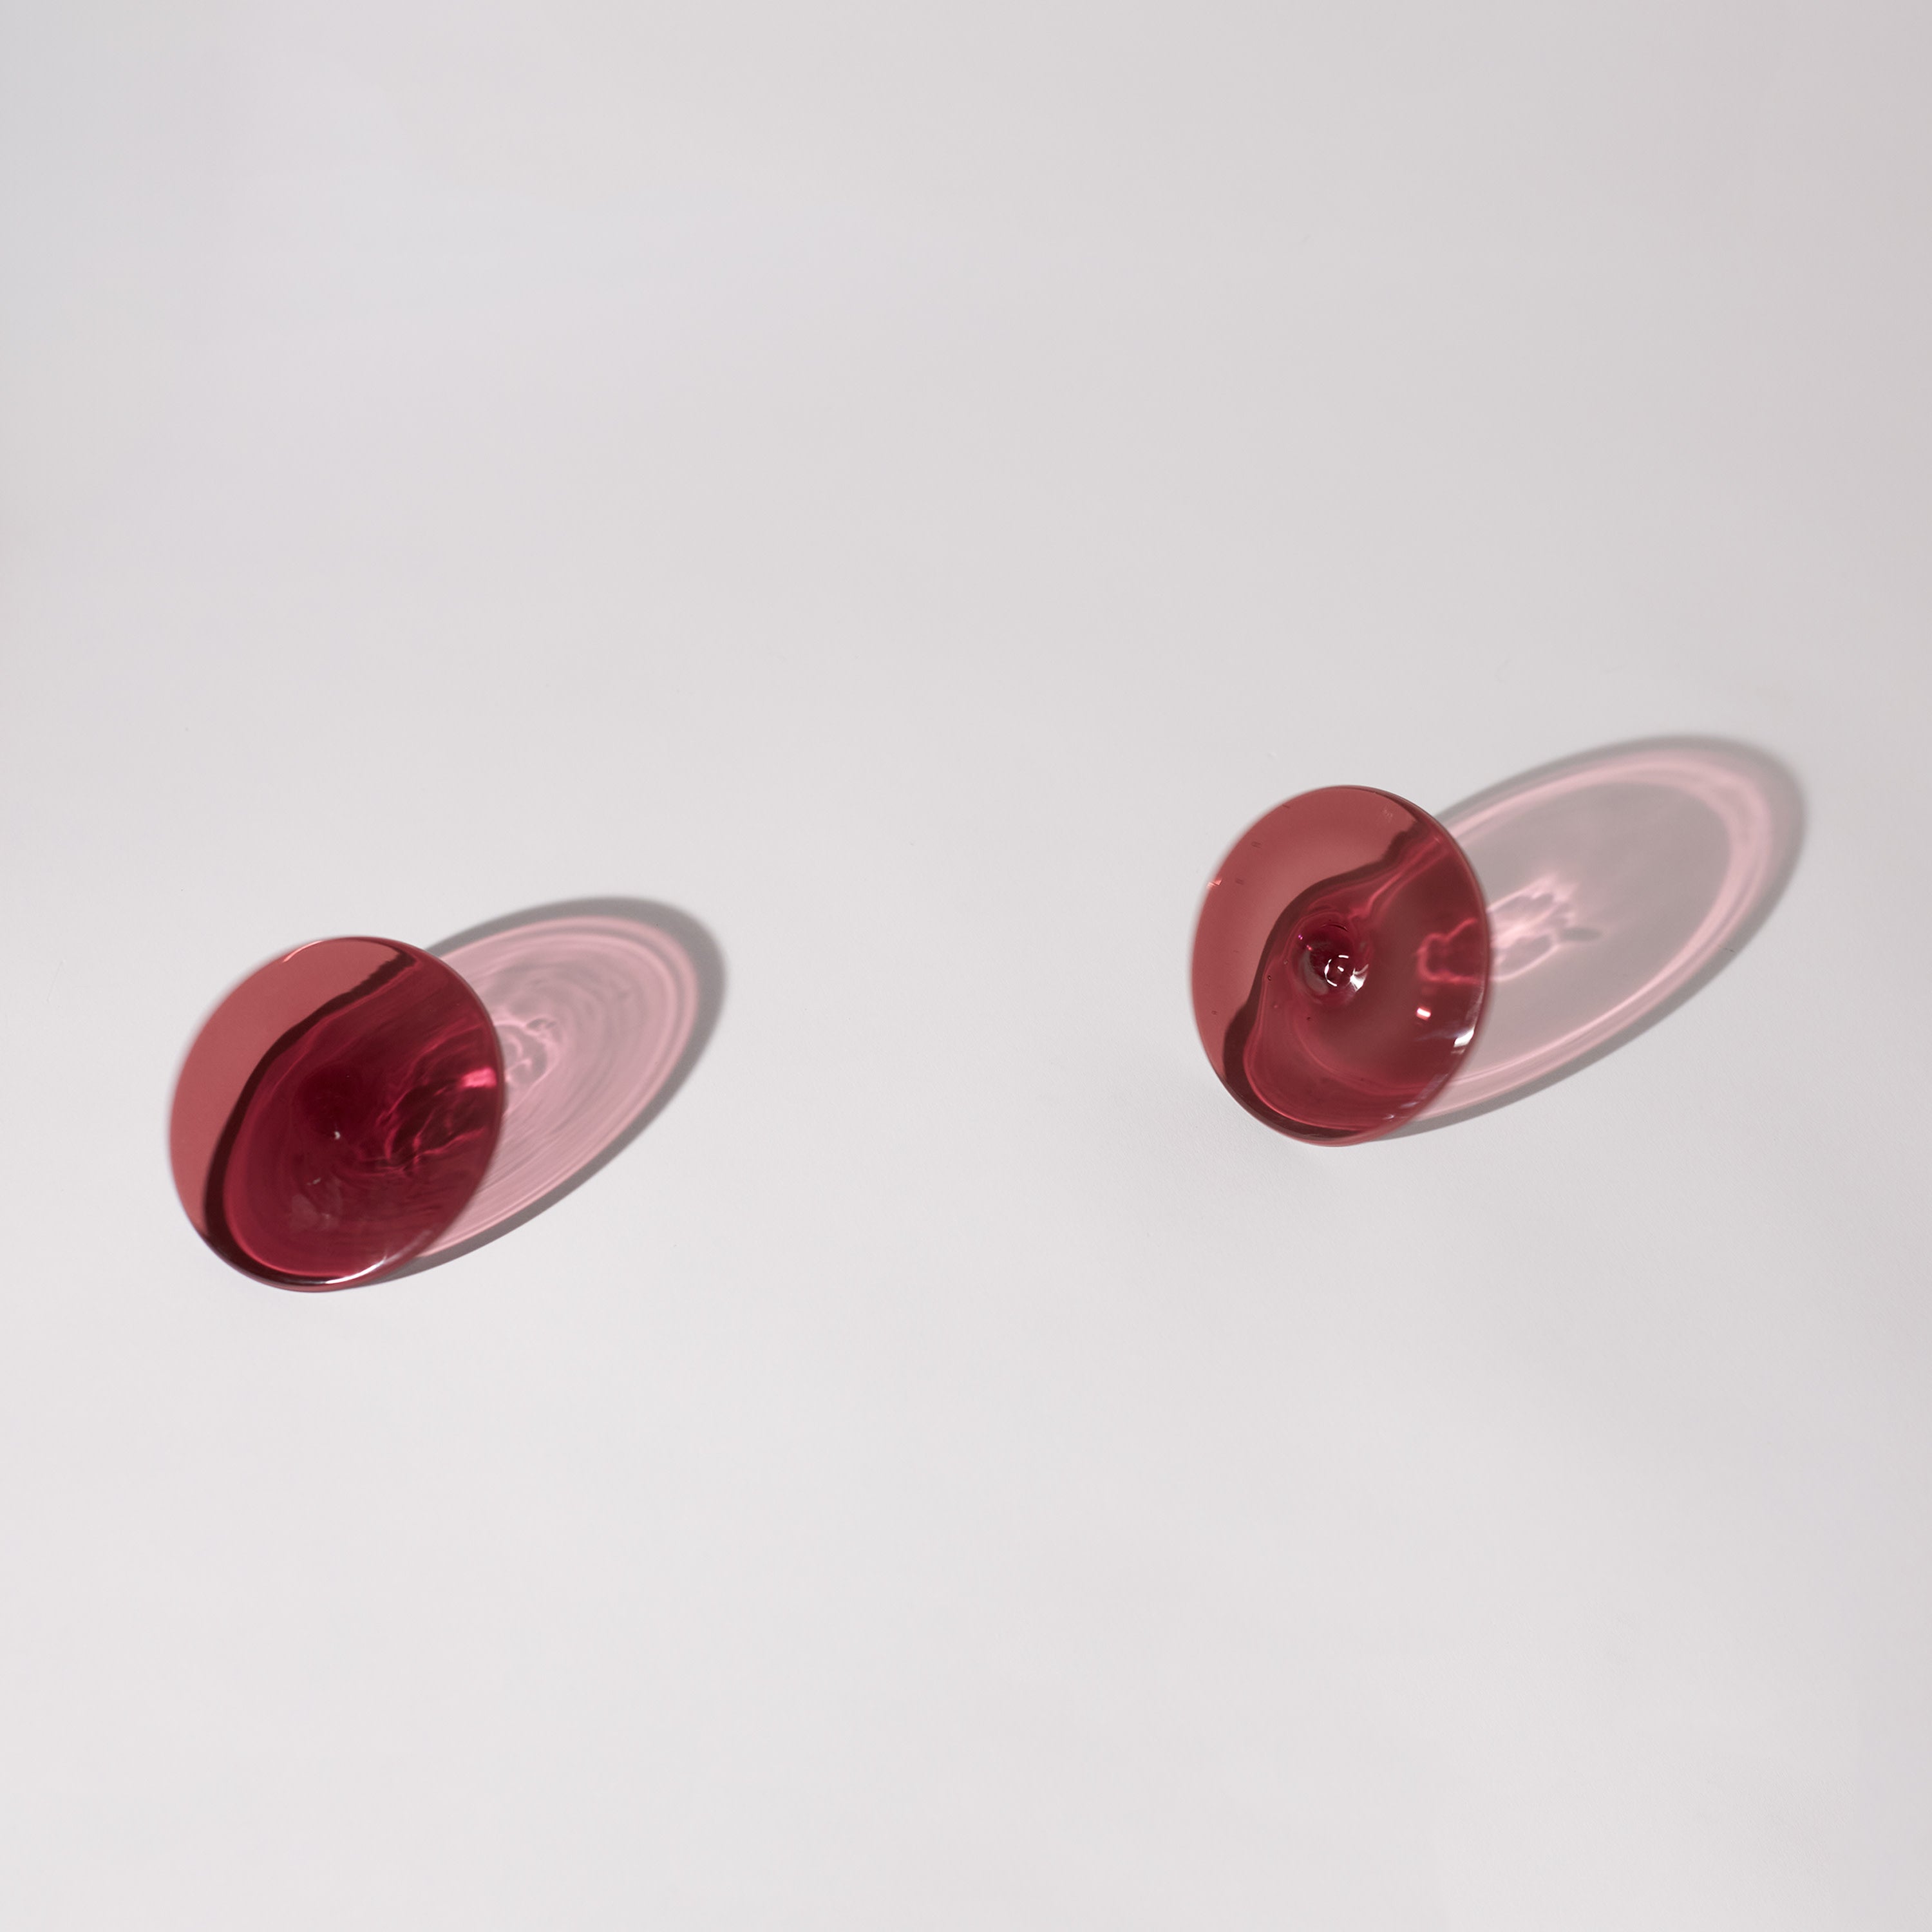
Lido: Florilegium, 2x4" Double Pixies, French Press, Gloss. Photo courtesy of Marc-Antoine Roy.
Step 4: Applying Mortar and Precisely Setting Each Tile
At this point, installers trowel a special type of mortar that is formulated for submerged conditions, working in small sections to prevent premature drying. Typically, they utilize notched trowels that are matched to tile dimensions, ensuring full coverage on both the tile back and substrate. Then, they press each tile into place with consistent pressure, while spacers maintain uniform joints. If handling mosaic pool tile sheets, professionals cut and adjust the mesh backing to align patterns seamlessly.
This meticulous tile‑setting phase guarantees strong bonding — even under changing water levels and temperature fluctuations — delivering the best choice outcome for both beauty and durability.
Step 5: Grouting, Sealing, and Protecting the Finished Waterline
After a 24‑ to 48‑hour cure, pool tile setters apply a high‑performance grout selected for its stain resistance and color stability. (As a designer, you may choose a grout color to contrast for dramatic effect, or blend subtly for a seamless look.) Once the grout has set, they apply a penetrating sealer to repel water and resist calcium deposits, which is key for maintaining the artisan finish over years of pool use.
Finally, cleaning removes any haze and ensures grout joints are crisp. A skilled professional always takes protective measures, such as covering the tile during pool fill and chemical balancing, to prevent premature wear. These steps safeguard the pool tile investment.
Step 6: Final Quality Inspection and Curing Process
In the last phase, the project manager or contractor conducts a detailed inspection, verifying tile alignment, grout consistency, and the absence of voids or uneven joints. They also check adhesion with non‑destructive pull tests and confirm that sealers have fully penetrated both the tile and the grout.
At this point, the pool is then filled gradually, allowing water to cure the grout optimally. Throughout the first week of operation, a technician must monitor the water’s pH and chlorine levels closely to prevent any adverse reactions. This rigorous post‑installation regimen ensures the new waterline tile endures harsh pool environments while retaining the artisanal beauty intended by the design.
Explore our curated pool tile collection and discover handcrafted pieces that bring depth, texture, and timeless elegance to your outdoor sanctuary.


Special Considerations for Repairing Artisan Waterline Pool Tiles
Repairing an artisan tile waterline demands a level of care equal to a new installation. Unlike standard pool tiles, artisan pieces often feature hand‑applied glazes and irregular edges that contribute to their unique character. Professionals must blend technical skill with an appreciation for craftsmanship in order to restore damaged sections without compromising the original design language.
Identifying Signs of Damage or Wear
A qualified installer begins by assessing the extent of the tile damage. Cracked or loose tiles, chipped edges, and grout degradation are common indicators that the pool tile needs repair. Technicians also look for discoloration caused by mineral buildup or chemical exposure.
Infrared scanning can reveal hidden moisture ingress behind the tile, while core sampling evaluates substrate integrity. Both, of course, require the expertise of a seasoned professional. Recognizing issues early on prevents larger problems down the road. In addition, it ensures that the repair employs the right materials — whether it’s a matching grout color or a compatible tile replacement.
Carefully Removing Damaged Sections Without Disrupting the Design
As you can imagine, extracting damaged artisan tile requires precision tools and gentle techniques. Installers must protect adjacent tiles with thin metal shims and use oscillating tools with diamond blades for controlled removal. This approach minimizes vibration and avoids cracking surrounding pieces — crucial when working with fragile glass tile or intricately patterned mosaics.
Once the professional removes damaged tile and grout, they clean the substrate and inspect it for structural integrity. Then they must address any underlying issues such as voids or delamination before installing the new tile.
Installing New Tiles to Match the Original Craftsmanship
Once the substrate is prepared, professionals must select replacement tiles that match the original’s dimensions, color palette, and glaze finish. In cases where the exact artisan pieces are unavailable, you may need to commission a custom fabrication.
Installers follow the same high‑precision methods outlined in new installations: applying the appropriate mortar, maintaining pattern alignment, and using grout that replicates the original color. This meticulous approach ensures that the repair is virtually undetectable, preserving the cohesive design of the waterline and maintaining the project’s overall integrity.
Why Artisan Waterline Tile Requires Professional Installation and Repair
Artisan waterline tile elevates a pool design thanks to its handcrafted textures and unique color variations — qualities that standard factory‑made tiles cannot replicate. However, these advantages come with the need for specialized installation and repair techniques. Only trained professionals understand the nuances of different types of tile, from the porosity of stone tile to the weight and thermal conductivity of porcelain tile. They also know how to address challenges such as calcium deposits, grout discoloration, and structural movement without compromising the tile’s artisanal qualities.
By engaging certified installers, designers and architects can ensure that every detail — from grout color selection to calcium deposit prevention — meets the high standards your clients expect, ensuring lasting beauty and performance.
Elevate your pool’s waterline with tiles that balance durability and artistry — browse our exclusive pool tile collections and reimagine your outdoor retreat.


Colorway
-
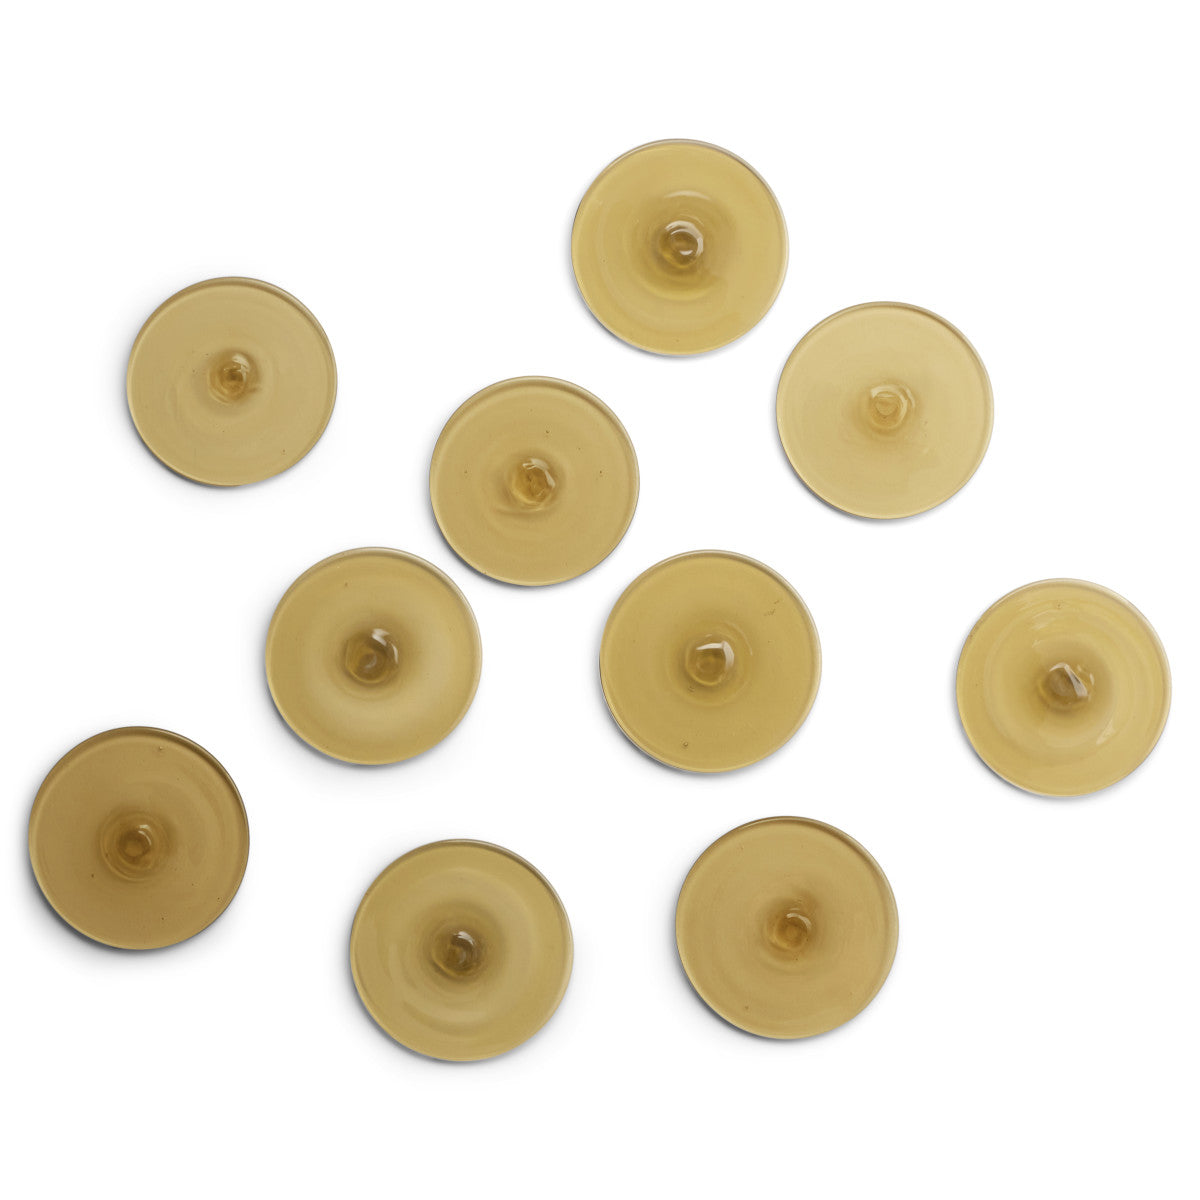
Amaretto
Collection
-
1970s GlassWorks
:
Sub Collection
-
le Disque
Material
Length
-
4
" x
Width
-
4
" x
Thickness
-
¼
"
Unit of Measurement
-
sqft
/
Price per Unit
$

Colorway
-
Daiquiri
Collection
-
1970s GlassWorks
:
Sub Collection
-
le Disque
Material
Length
-
8
" x
Width
-
8
" x
Thickness
-
⅞
"
Unit of Measurement
-
sqft
/
Price per Unit
$
Colorway
-
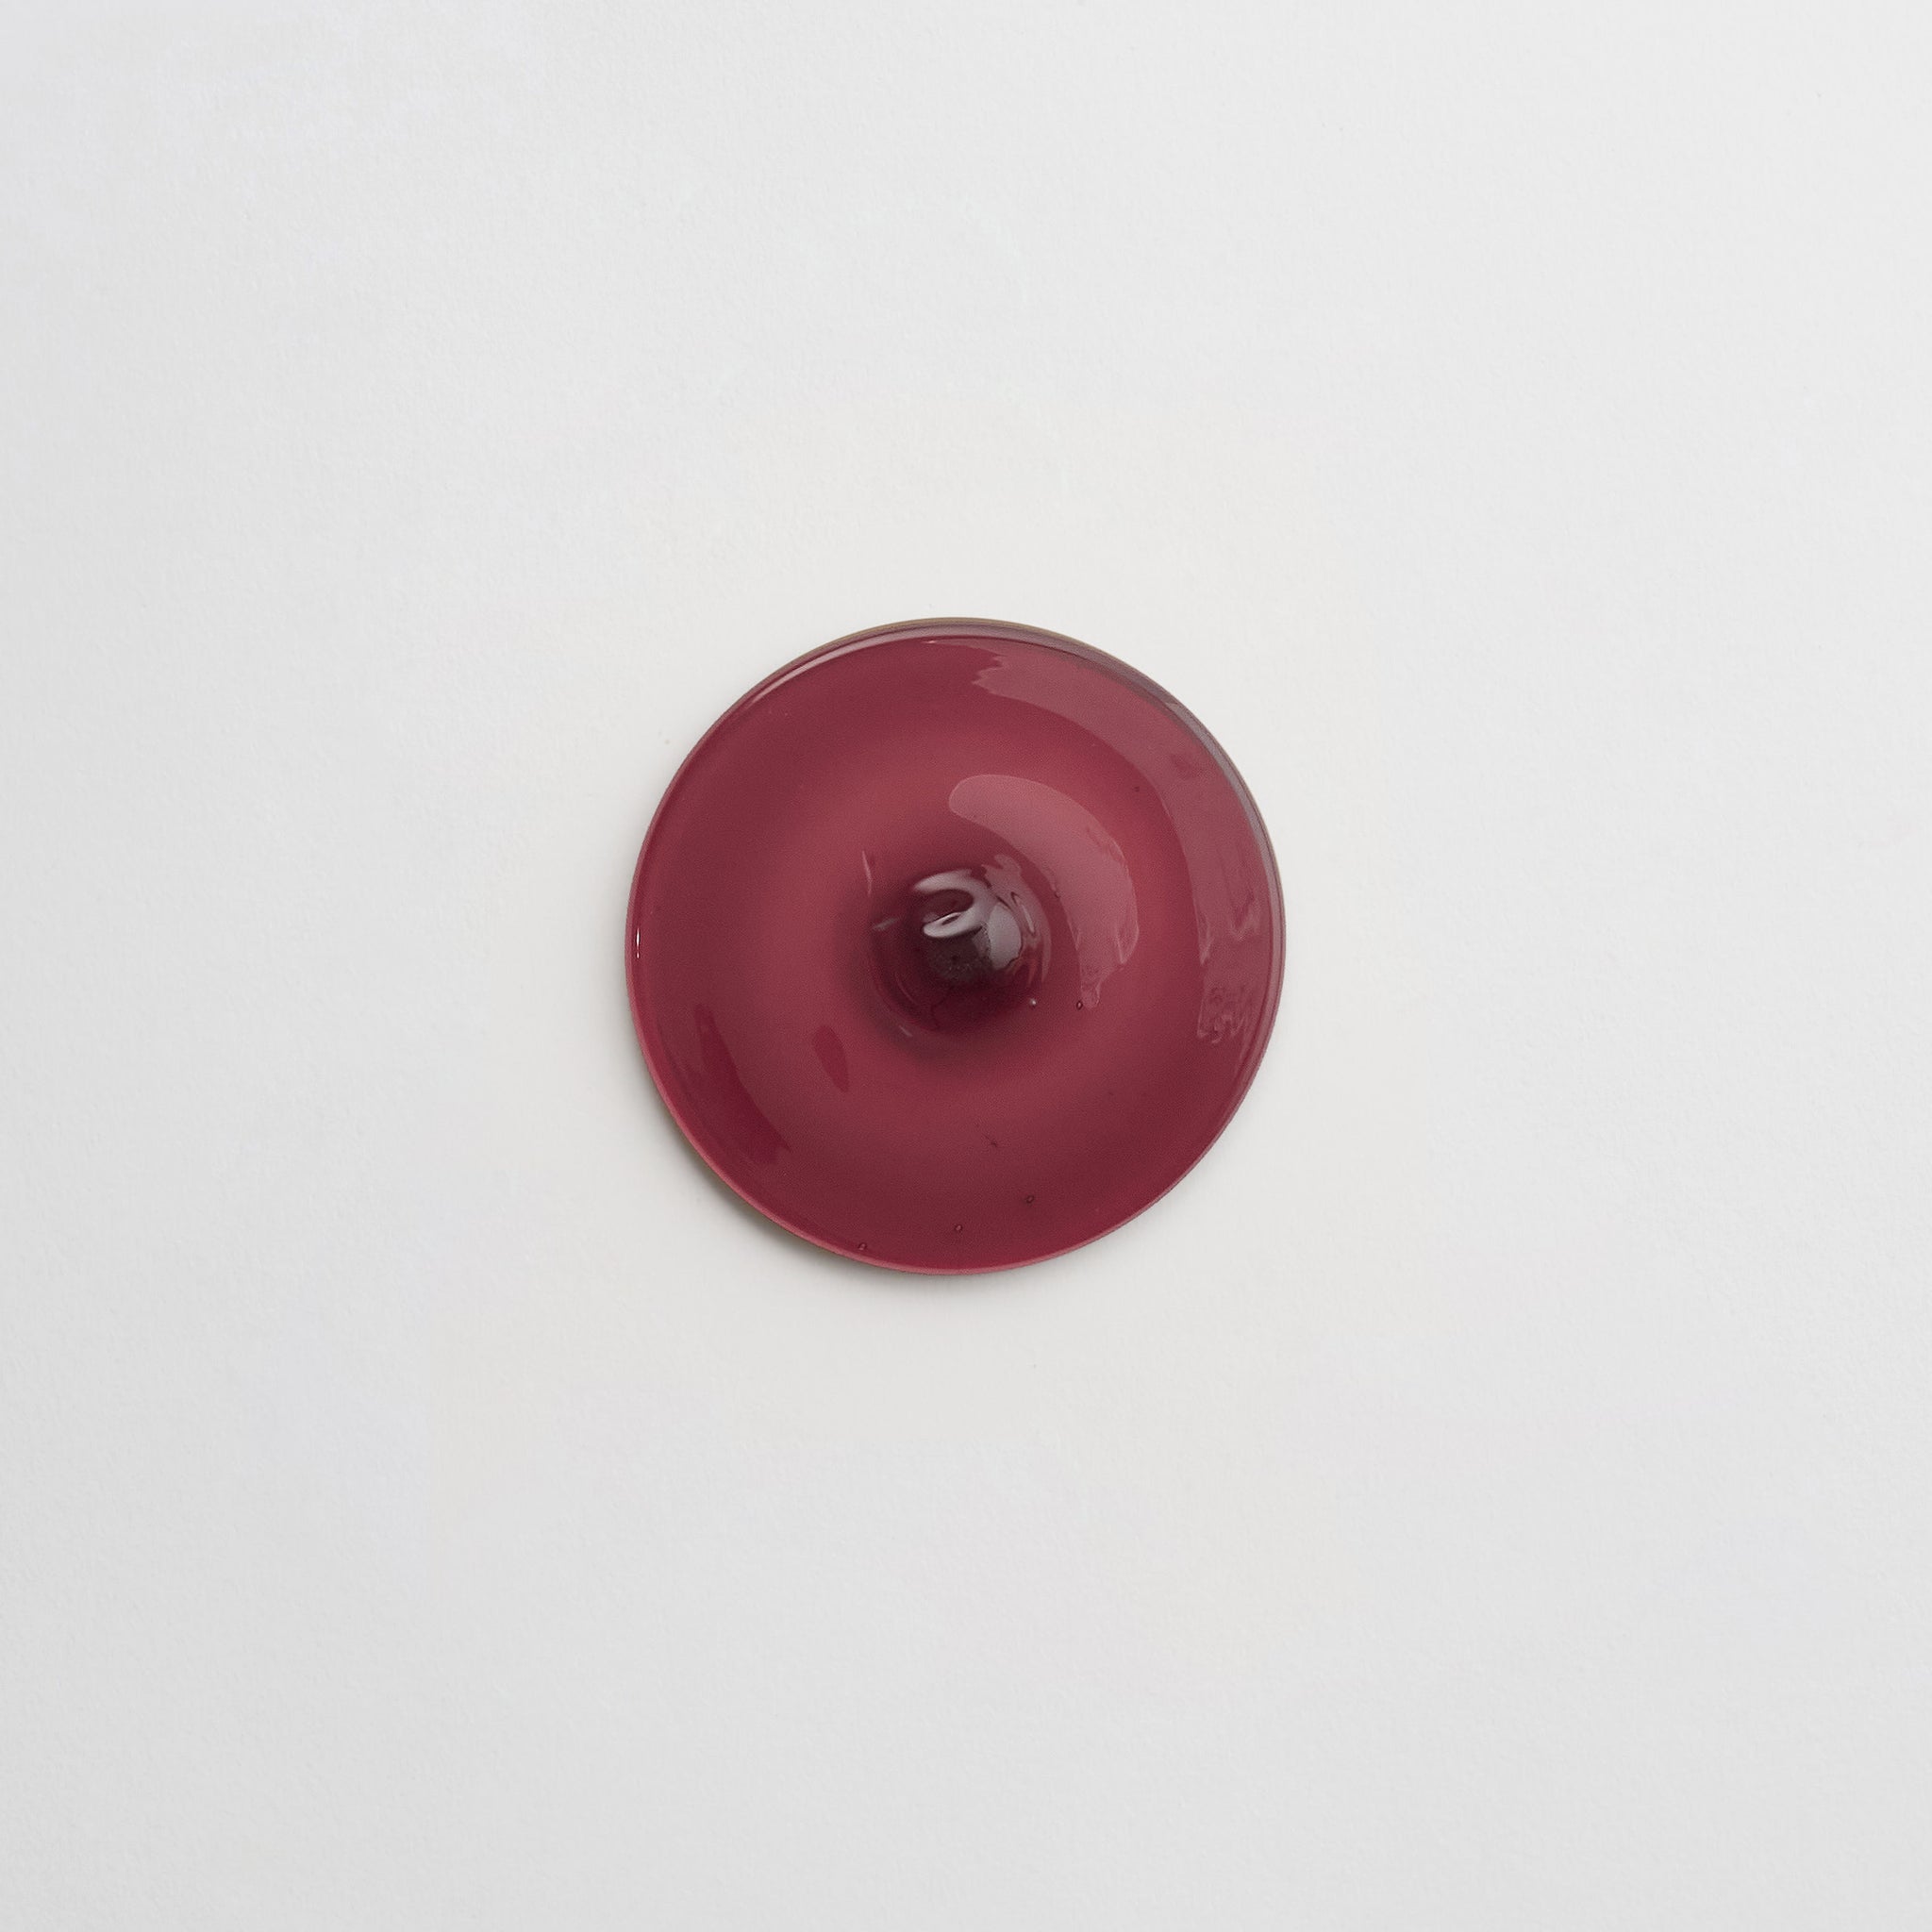
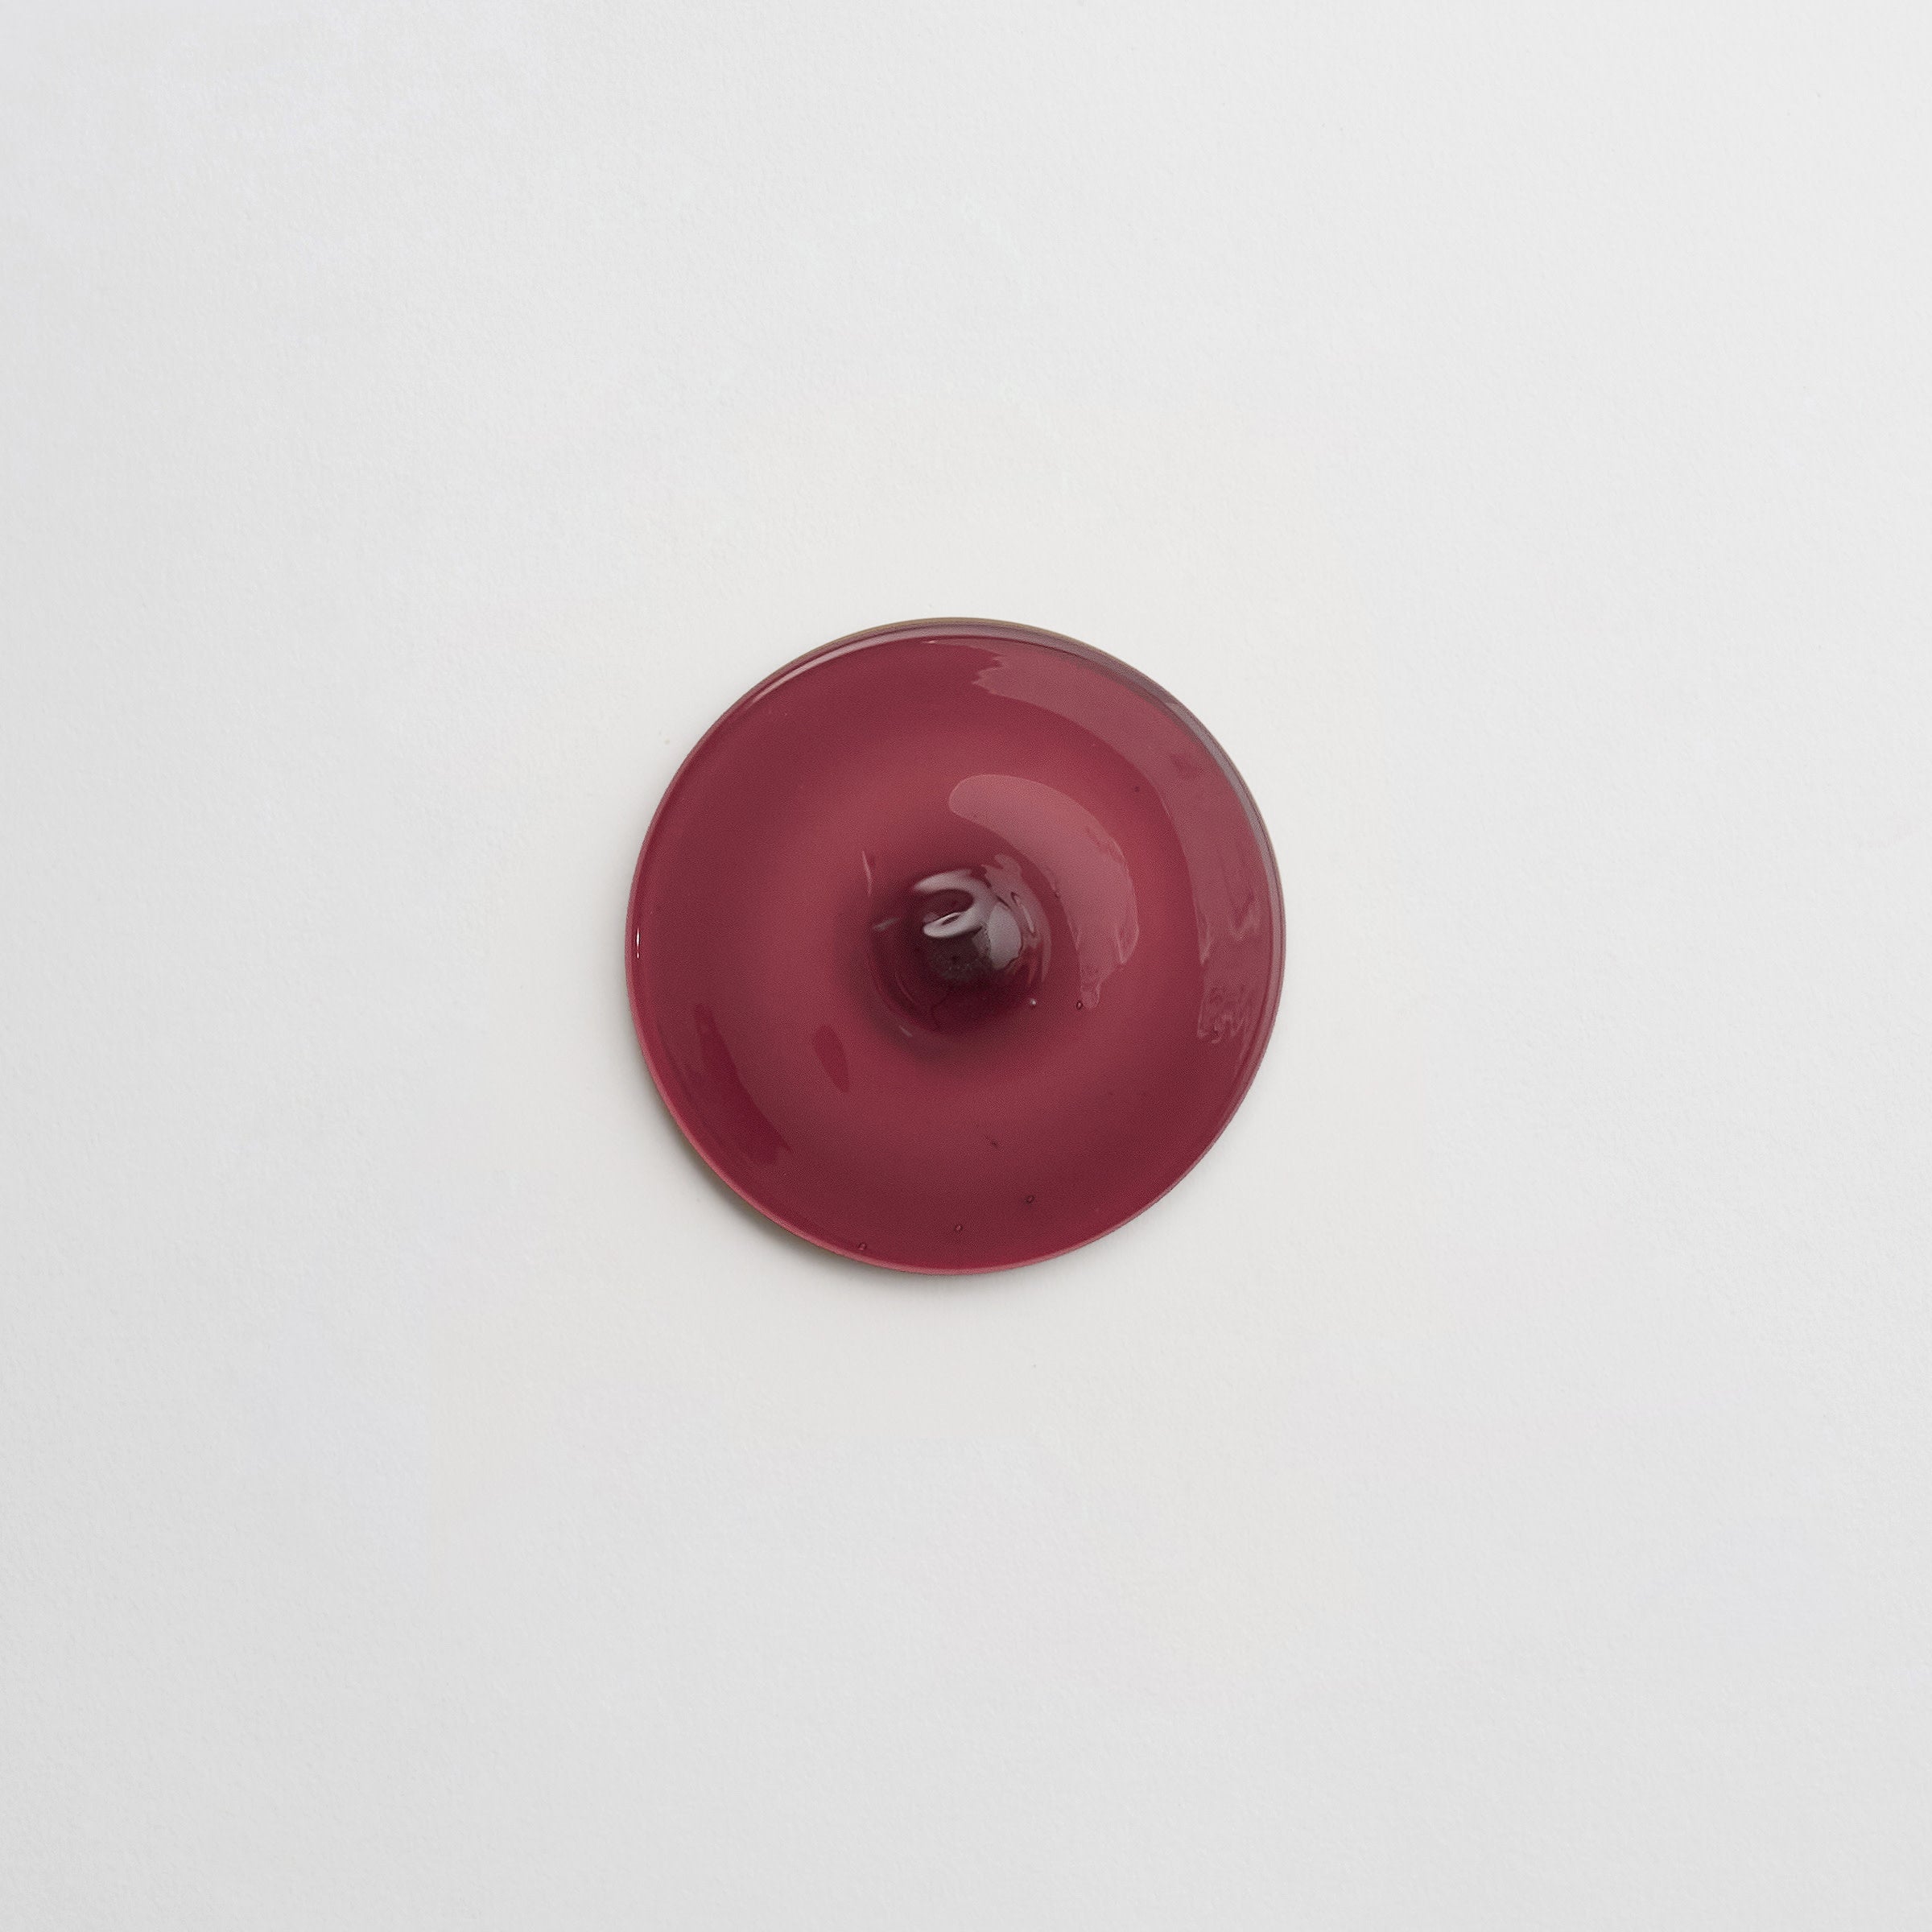
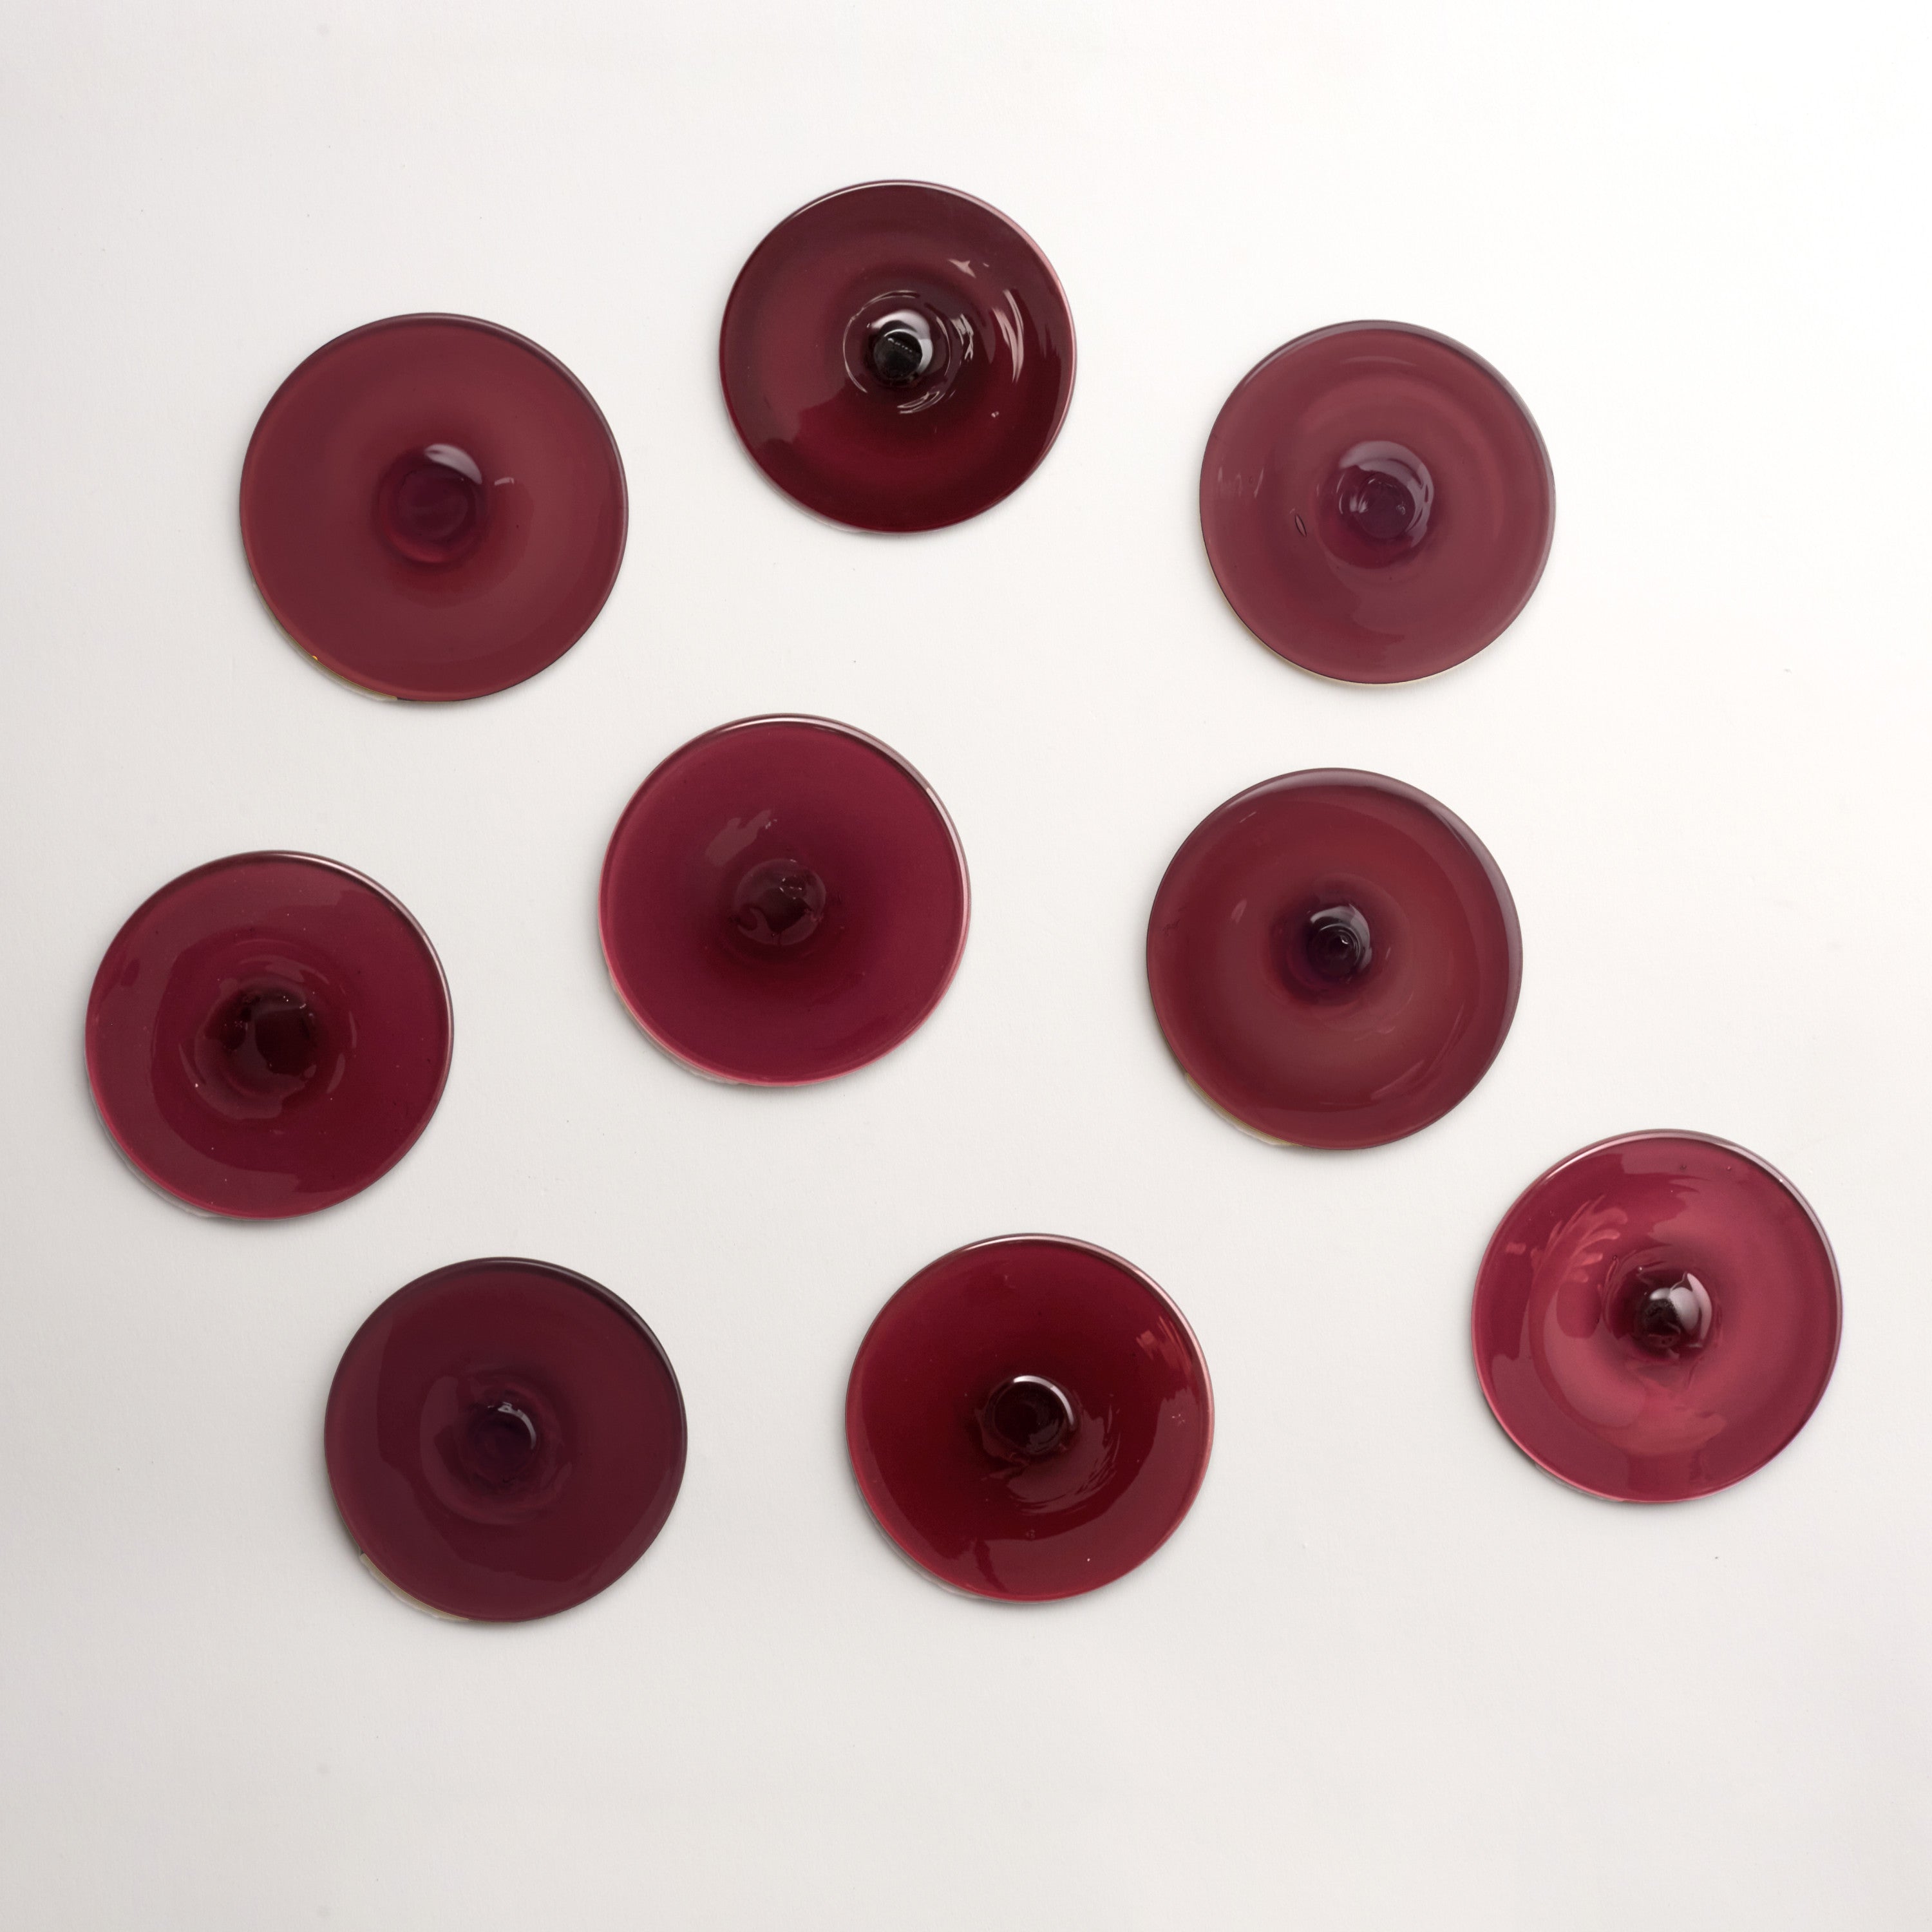
Chambord
Collection
-
1970s GlassWorks
:
Sub Collection
-
le Disque
Material
Length
-
4
" x
Width
-
16
" x
Thickness
-
¾
"
Unit of Measurement
-
sqft
/
Price per Unit
$