
Grangestone, Medium Petros, Slate
Outdoor Kitchen Layout Ideas Even Small Patios Can Pull Off
Form and function matter in every outdoor space, but perhaps never more so than in the outdoor kitchen. Every outdoor kitchen layout has to define cooking, prep, serving, and entertaining zones, all in one heavily trafficked exterior space. For homeowners, interior designers, and landscape architects planning a backyard renovation, understanding this layout is crucial.
A thoughtful outdoor kitchen layout does more than meet your (or your client’s) aesthetic goals. It also maximizes flow and functionality, transforming an ordinary patio into a high-performance outdoor living space. Even more, it ensures that every element, from the grill to the seating area, contributes to a cohesive and efficient experience — for hosts and guests alike.
This comprehensive guide will walk you through the essential steps for planning an outdoor kitchen. You'll learn about the most popular outdoor kitchen layout types, such as L-shaped, U-shaped, and straight-line, the standard dimensions for appliances and countertops, and practical floor plans to create a cohesive, inviting space — no matter the size of the backyard or budget.


Planning An Outdoor Kitchen Layout Step-By-Step
Before diving into the details, it helps to break the planning process into clear, manageable steps. The most beautiful projects we see tend to follow a process involving five key steps of thorough planning (and then more planning for good measure).
1. Define Your Vision for the Space
The first step in any outdoor kitchen design is to outline how you (or your client) will use the area. Will it be a sprawling entertaining hub for large gatherings, or do you need compact outdoor kitchen with pizza oven ideas? Also consider whether a built-in grill will serve as the centerpiece, if a pizza oven will lend artisanal flair, or if a fire pit will be the focus of the area.
It helps to ask questions like: Will natural gas or propane provide the heat? Is there a need for storage drawers and cabinets that can hold accessories and utensils? Identifying the priorities up front ensures that the layout supports the vision for the space.
2. Determine the Size & Placement
Next, measure the backyard or patio to gauge how much space you can dedicate to cooking and seating. In small spaces, a linear kitchen against a fence or wall maximizes the space’s footprint, while larger lots can accommodate L-shaped or U-shaped modules with island or peninsula additions.
Be mindful of door clearances from nearby structures and maintain at least 3 to 4 feet of clearance around work zones for comfortable traffic flow. Thoroughly sketching out proposed footprints is crucial before committing to permanent installations.
3. Consider Infrastructure Needs
Infrastructure is the backbone of any successful outdoor kitchen layout. Plan for utility connections — including natural gas lines, electrical outlets for appliances, and plumbing for sinks or ice makers — early in the design phase. This also means ensuring built-in grills and stainless steel cooktops have proper ventilation, either through overhead hoods or open-air airflow in covered spaces.
If you’re adding lighting for evening cooking, map out cable runs and switch placements, as well. As experienced designers know, planning infrastructure concurrently with layout prevents costly retrofits down the line.
4. Finalize a Rough Layout
With measurements and infrastructure in hand, it’s time to finalize the layout. (Homeowners: Partnering with an experienced designer or architect is key here.) This includes marking key components — like the grill, refrigerator, sink, pizza oven, drawers, and doors — in their proposed locations.
Don’t forget to arrange appliances to form a basic service triangle between prep, cooking, and cleaning stations, minimizing unnecessary steps. This is your last opportunity to experiment with different configurations, such as linear kitchen layouts for streamlined efficiency or U-shaped layouts for versatile prep and serving zones.
5. Choosing Materials That Suit the Environment & Design Style
Selecting the right materials is crucial for durability and aesthetics in outdoor spaces. As always, opt for weather-resistant countertops made of granite, porcelain tile, or concrete that can withstand UV rays and temperature fluctuations. (We’re looking at you, freeze-thaw cycles.) Stainless steel appliances and doors offer corrosion resistance and a sleek, modern look, while stone, natural brick, and terracotta patio tile provide rustic or Mediterranean flair.
When in doubt, coordinate your materials with existing backyard elements — such as a stone fire pit or a wood pergola — to achieve a cohesive outdoor kitchen design. These natural stone outdoor kitchen ideas are a great start.

Outdoor Kitchen Layout Types to Consider
If you’re an interior designer or landscape architect, you are probably familiar with a vast array of outdoor kitchen plans. Here, we explore four of the most common outdoor kitchen ideas — and the perks we see with each of them.
Linear Layout
A linear kitchen places all appliances and workstations along a single wall or fence — a perfect solution for compact backyards or narrow patios. This layout streamlines the cooking workflow in one direction and frees up adjacent space for seating or a fire pit. Incorporate a built-in grill, sink and refrigerator in a straight line, with drawers and doors below for storage.
This outdoor kitchen layout idea is particularly beneficial for maximizing space on small patios or narrow decks, as it keeps all essential functions — grill, prep area, and storage — streamlined against a single wall. This efficient arrangement minimizes the required footprint while still providing full functionality, making it an excellent choice for urban or compact backyards.
Another perk many designers and homeowners forget to think about? This simple, straight-line configuration often simplifies utility runs (think: gas, electric, and water) which can result in lower construction costs and a cleaner, more minimalist aesthetic.
L-Shaped Layout
The L-shaped layout utilizes two connected walls of workspace, offering more counter area and flexibility. One wing can house the cooking zone — the grill, pizza oven, and side burners, for example — while the other wing can serve as a prep and plating area with a sink and countertop. This layout suits corners of patios or decks, maximizing usable square footage.
This outdoor kitchen layout plan is highly versatile, striking an ideal balance between dedicated workspace and open entertaining area. Its two-sided configuration naturally creates a functional service triangle, placing the grill, prep sink, and refrigerator within easy reach, all of which significantly improves workflow efficiency.
Here’s another thing to consider: The L-shape can accommodate a seating or bar area on the outer edge. This transforms one wing of the kitchen into a social hub where guests can interact with the host without impeding the cooking process.
U-Shaped Layout
For homeowners seeking ample counter space and multiple functional zones, the U-shaped layout wraps the kitchen around three sides. The center “cove” can feature a pizza oven or bar seating, while the two wings can accommodate cooking and cleaning. U-shaped designs naturally define the outdoor kitchen area within larger backyard plans.
For a truly immersive cooking and entertaining experience, the U-shaped layout is an excellent outdoor kitchen layout idea. The three-sided configuration provides the maximum amount of continuous counter space, allowing you to create dedicated zones for prep, cooking, and serving without sacrificing flow. This design also excels in separating the high-heat cooking area from the main socializing space, leading to a safer, more efficient workflow.
The inherent enclosed nature of the U shape also makes this layout excellent for integrating specialty features like a dedicated bar, a built-in pizza oven, or a robust grilling station. Overall, this idea manages to incorporate a slew of features while maintaining a central, interactive hub for hosts and guests.
Galley Layout
Also known as a parallel or corridor layout, the galley layout features two facing walls of cabinetry and appliances, with a walkway in between. (Ideally, there’s at least four feet of space here.) Great for long, narrow spaces, this design incorporates counter space and storage into the same footprint as a linear kitchen. Keep one side dedicated to cooking and the other to prepping, washing, and refrigeration.
The galley configuration, with its two parallel walls, is an exceptionally efficient outdoor kitchen layout plan for maximizing storage and counter space in corridor-like areas. It creates a highly functional workflow, allowing the host to pivot easily between the cooking zone (like a grill or side burners) and the prep or cleaning zone (like a sink or refrigerator) without taking unnecessary steps.
This efficient arrangement is also excellent for creating a dedicated culinary zone that remains separate from, but still accessible to, the main entertaining space. This makes it a favorite for maximizing utility in constrained side yards or decks.
Island or Peninsula Additions
Adding an island or peninsula module can elevate any base outdoor kitchen layout. Islands serve as multiuse prep and seating hubs, often housing a sink or a built-in grill. Peninsulas extend from existing counters to create a bar with stools on one side and a workspace on the other. Both options enhance traffic flow and social interaction around the outdoor kitchen.
Taking this approach can significantly boost the utility and social dynamic of any base outdoor kitchen layout idea. These additions create essential secondary workstations, alleviating pressure on the main cooking and prep zones. Beyond simple counter space, they often house high-value features like a secondary sink, a built-in beverage refrigerator, or even a dedicated ice maker, greatly improving efficiency for hosts.
Even more: Islands and peninsulas transform the kitchen from a purely functional area into a social anchor, allowing guests to gather and interact with the host without interrupting the flow of meal prep. This makes the entire space more inviting and cohesive.


Layout Zones for a Functional Outdoor Kitchen
Before you finalize the layout, consider these key strategies we’ve see interior designers and landscape architects use in their backyard renovation ideas.
Prep Zone
The prep zone gives spaces for the first step in the cooking workflow. Ideally situated between the refrigerator and the cooking station, this area includes countertop space, drawers for knives and tools, and easy access to appliances. Incorporating a small sink, when possible, is a great place to wash produce and utensils without trekking to the indoor kitchen.
Cooking Zone
At the heart of any outdoor kitchen is the cooking zone. Whether the space is home to a built-in grill, a pizza oven, or a combination unit, it must have proper clearances and ventilation. We’ve seen homeowners include side burners for sautéing, warming racks for keeping food hot, and stainless steel doors and cabinets for storing grill accessories like tongs and brushes.
Plating & Serving Zone
Adjacent to the cooking station, the plating and serving zone provides a staging area for finished dishes. A countertop or dedicated bar-height ledge keeps dishes within easy reach of guests. Nearby drawers and cabinets can hold plates, utensils, and accessories like serving platters, napkins, and condiments.
Dining & Entertaining Zone
Don’t forget the end destination: the dining and entertaining zone. This area may include a fire pit, outdoor dining table, or bar seating at a peninsula. Choose comfortable seating, of course, with durable outdoor fabrics and ambient lighting to create a welcoming atmosphere. Plan for shade structures like pergolas or umbrellas to protect guests from sun and rain.
Common Outdoor Kitchen Layout Mistakes
A well designed outdoor kitchen design anticipates potential pitfalls. By recognizing and avoiding these common layout errors, you can ensure the final result remains safe, efficient, and enjoyable for years to come.
- Ignoring Drainage: Failure to plan for proper water runoff can lead to pooling water, structural damage, and mold or mildew growth around the kitchen area.
- No Landing Zones: Not providing adequate counter space (aka landing zones) immediately adjacent to the grill, sink, and refrigerator can be a hindrance. These areas are necessary for placing hot items, ingredients, cleaning supplies, and more.
- Poor Workflow: Arranging the cooking, prep, and cleaning zones too far apart can create unnecessary steps and disrupt the efficiency of the “service triangle.”
- Blocking Airflow: Placing grills or ovens too close to walls or under improperly ventilated overhead structures can be dangerous. Without proper airflow, flames can come into contact with unwanted surfaces, and smoke may not clear effectively. As a general rule, maintain at least 36 inches of open space in front of the grill and sufficient vertical clearance above for heat and smoke to dissipate. Always confirm spacing requirements with appliance manufacturers and local building codes.
- Using Indoor-Only Materials: Selecting non-weather-resistant materials (such as certain woods, porous stones, or indoor fabrics) for countertops, cabinetry, and seating won’t serve the space in the long run. Indoor-only materials will degrade, fade, or fail when exposed to the elements — even if your project is located in a mild climate.

Design Tips for the Perfect Outdoor Kitchen Layout
A successful outdoor kitchen merges style with practicality, so it’s important to fine-tune the details that elevate an outdoor kitchen layout from good to great. Think: thoughtful material choices, clear sightlines, and purpose-driven surfaces to define each zone.
Use Materials to Visually Define Functional Zones
Differentiate workstations by varying materials. For example, a marble tile countertop in the prep zone can transition to a concrete surface around the pizza oven. Contrasting tile on the kitchen island and cabinets under the sink can help delineate cooking versus cleaning areas.
For more inspiration, check out these tile ideas for your outdoor kitchen in our comprehensive guide.
Maintain a Balanced Visual Flow
Keep sightlines open by avoiding tall walls or cabinets that block views of the backyard. Half-height partitions — like low masonry walls or planter boxes — can separate zones without closing off the space. Additionally, coordinating materials and colors across modules will bring harmony to the whole outdoor kitchen design.
Optimize Surfaces for Purpose and Placement
Position heat-resistant materials like outdoor porcelain tile near grills and pizza ovens, and waterproof, stain-resistant surfaces — again, like porcelain tile — around sinks and refrigerators. (When considering tile for these surfaces, you can also check the tile’s technical specifications and material guidelines.) Modular drawer inserts and pull-out shelves can organize spices, utensils, and paper goods.
Designing an outdoor kitchen layout that blends form and function requires thoughtful planning, from defining the overall vision to selecting the right materials for the environment. By following these steps — measuring the space, finalizing the layout, accommodating infrastructure needs, and choosing durable finishes — you’ll create an outdoor space that’s as practical as it is inviting.
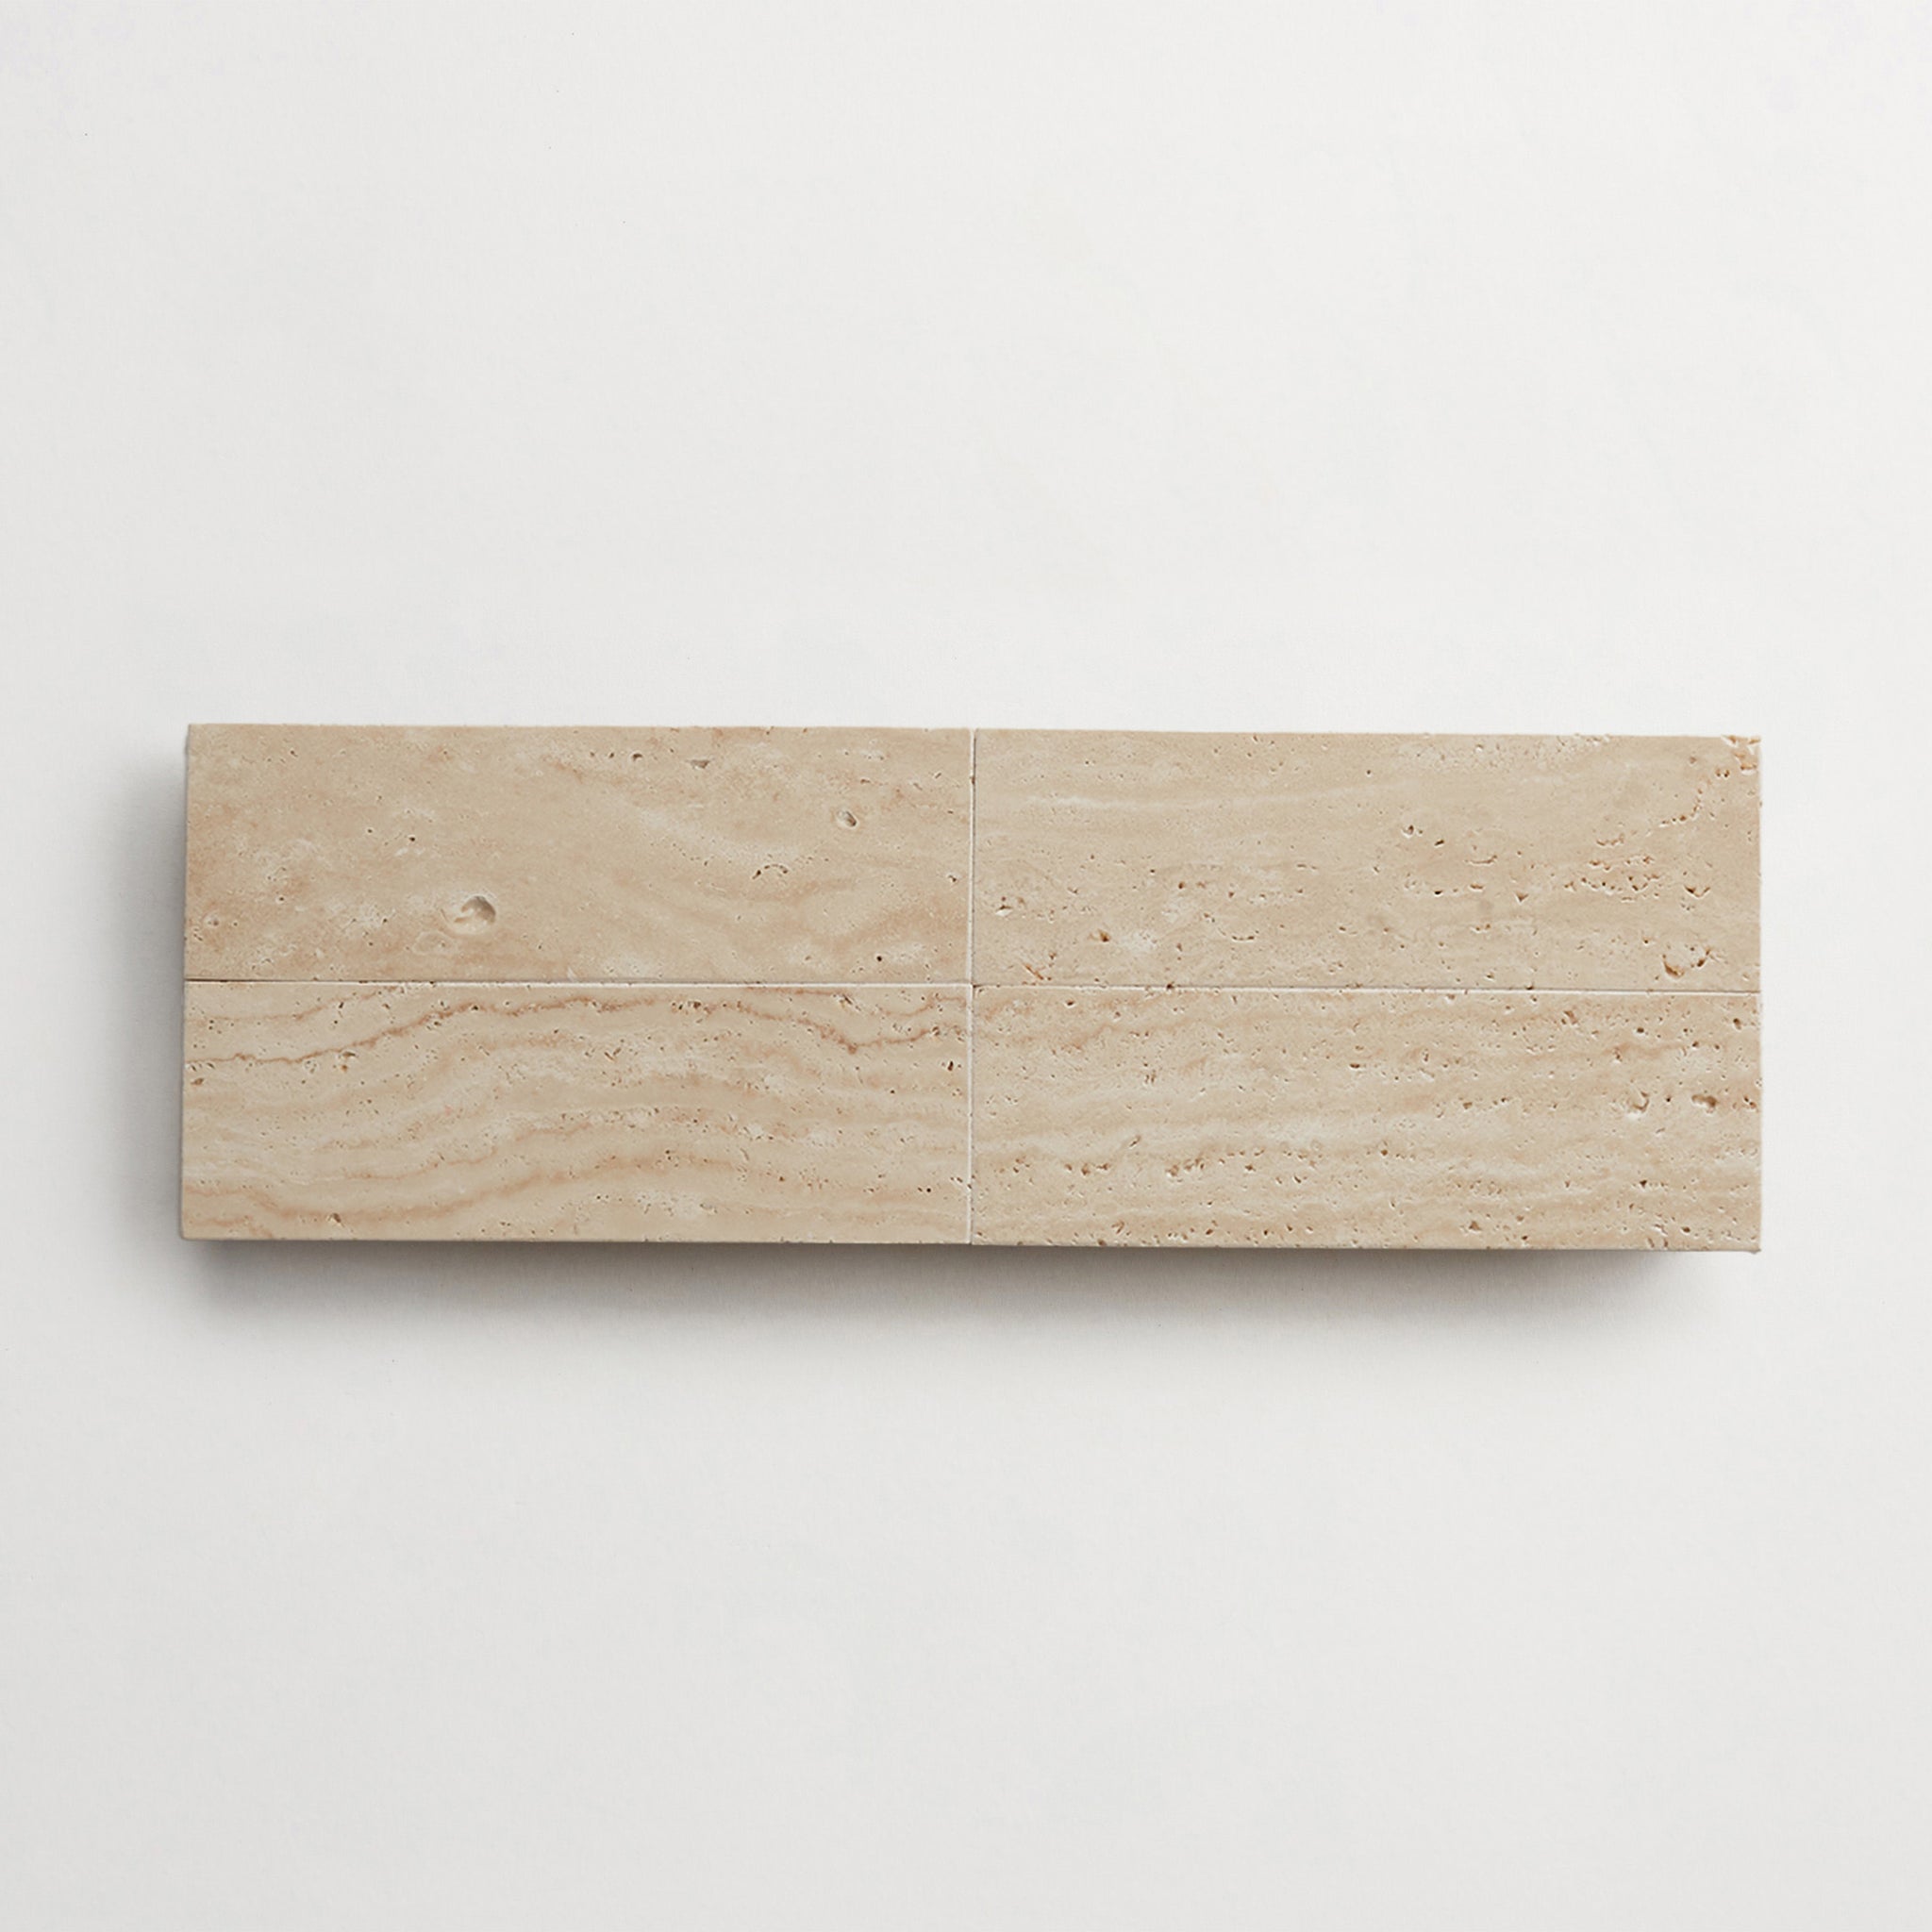

Colorway
-
Beige Travertine
Collection
-
lapidary
:
Sub Collection
-
le Disque
Material
Length
-
4
" x
Width
-
4
" x
Thickness
-
¼
"
Unit of Measurement
-
sqft
/
Price per Unit
$


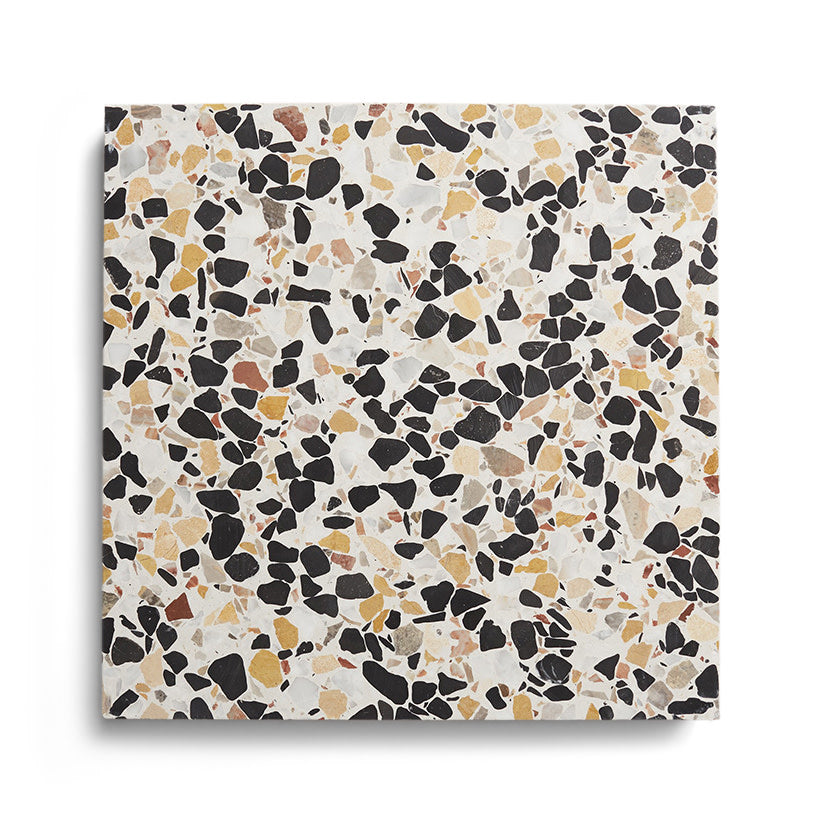
Colorway
-
Blanco
Collection
-
Dolce Vita Terrazzo
:
Sub Collection
-
Torrone III
Material
Length
-
8
" x
Width
-
8
" x
Thickness
-
⅞
"
Unit of Measurement
-
sqft
/
Price per Unit
$


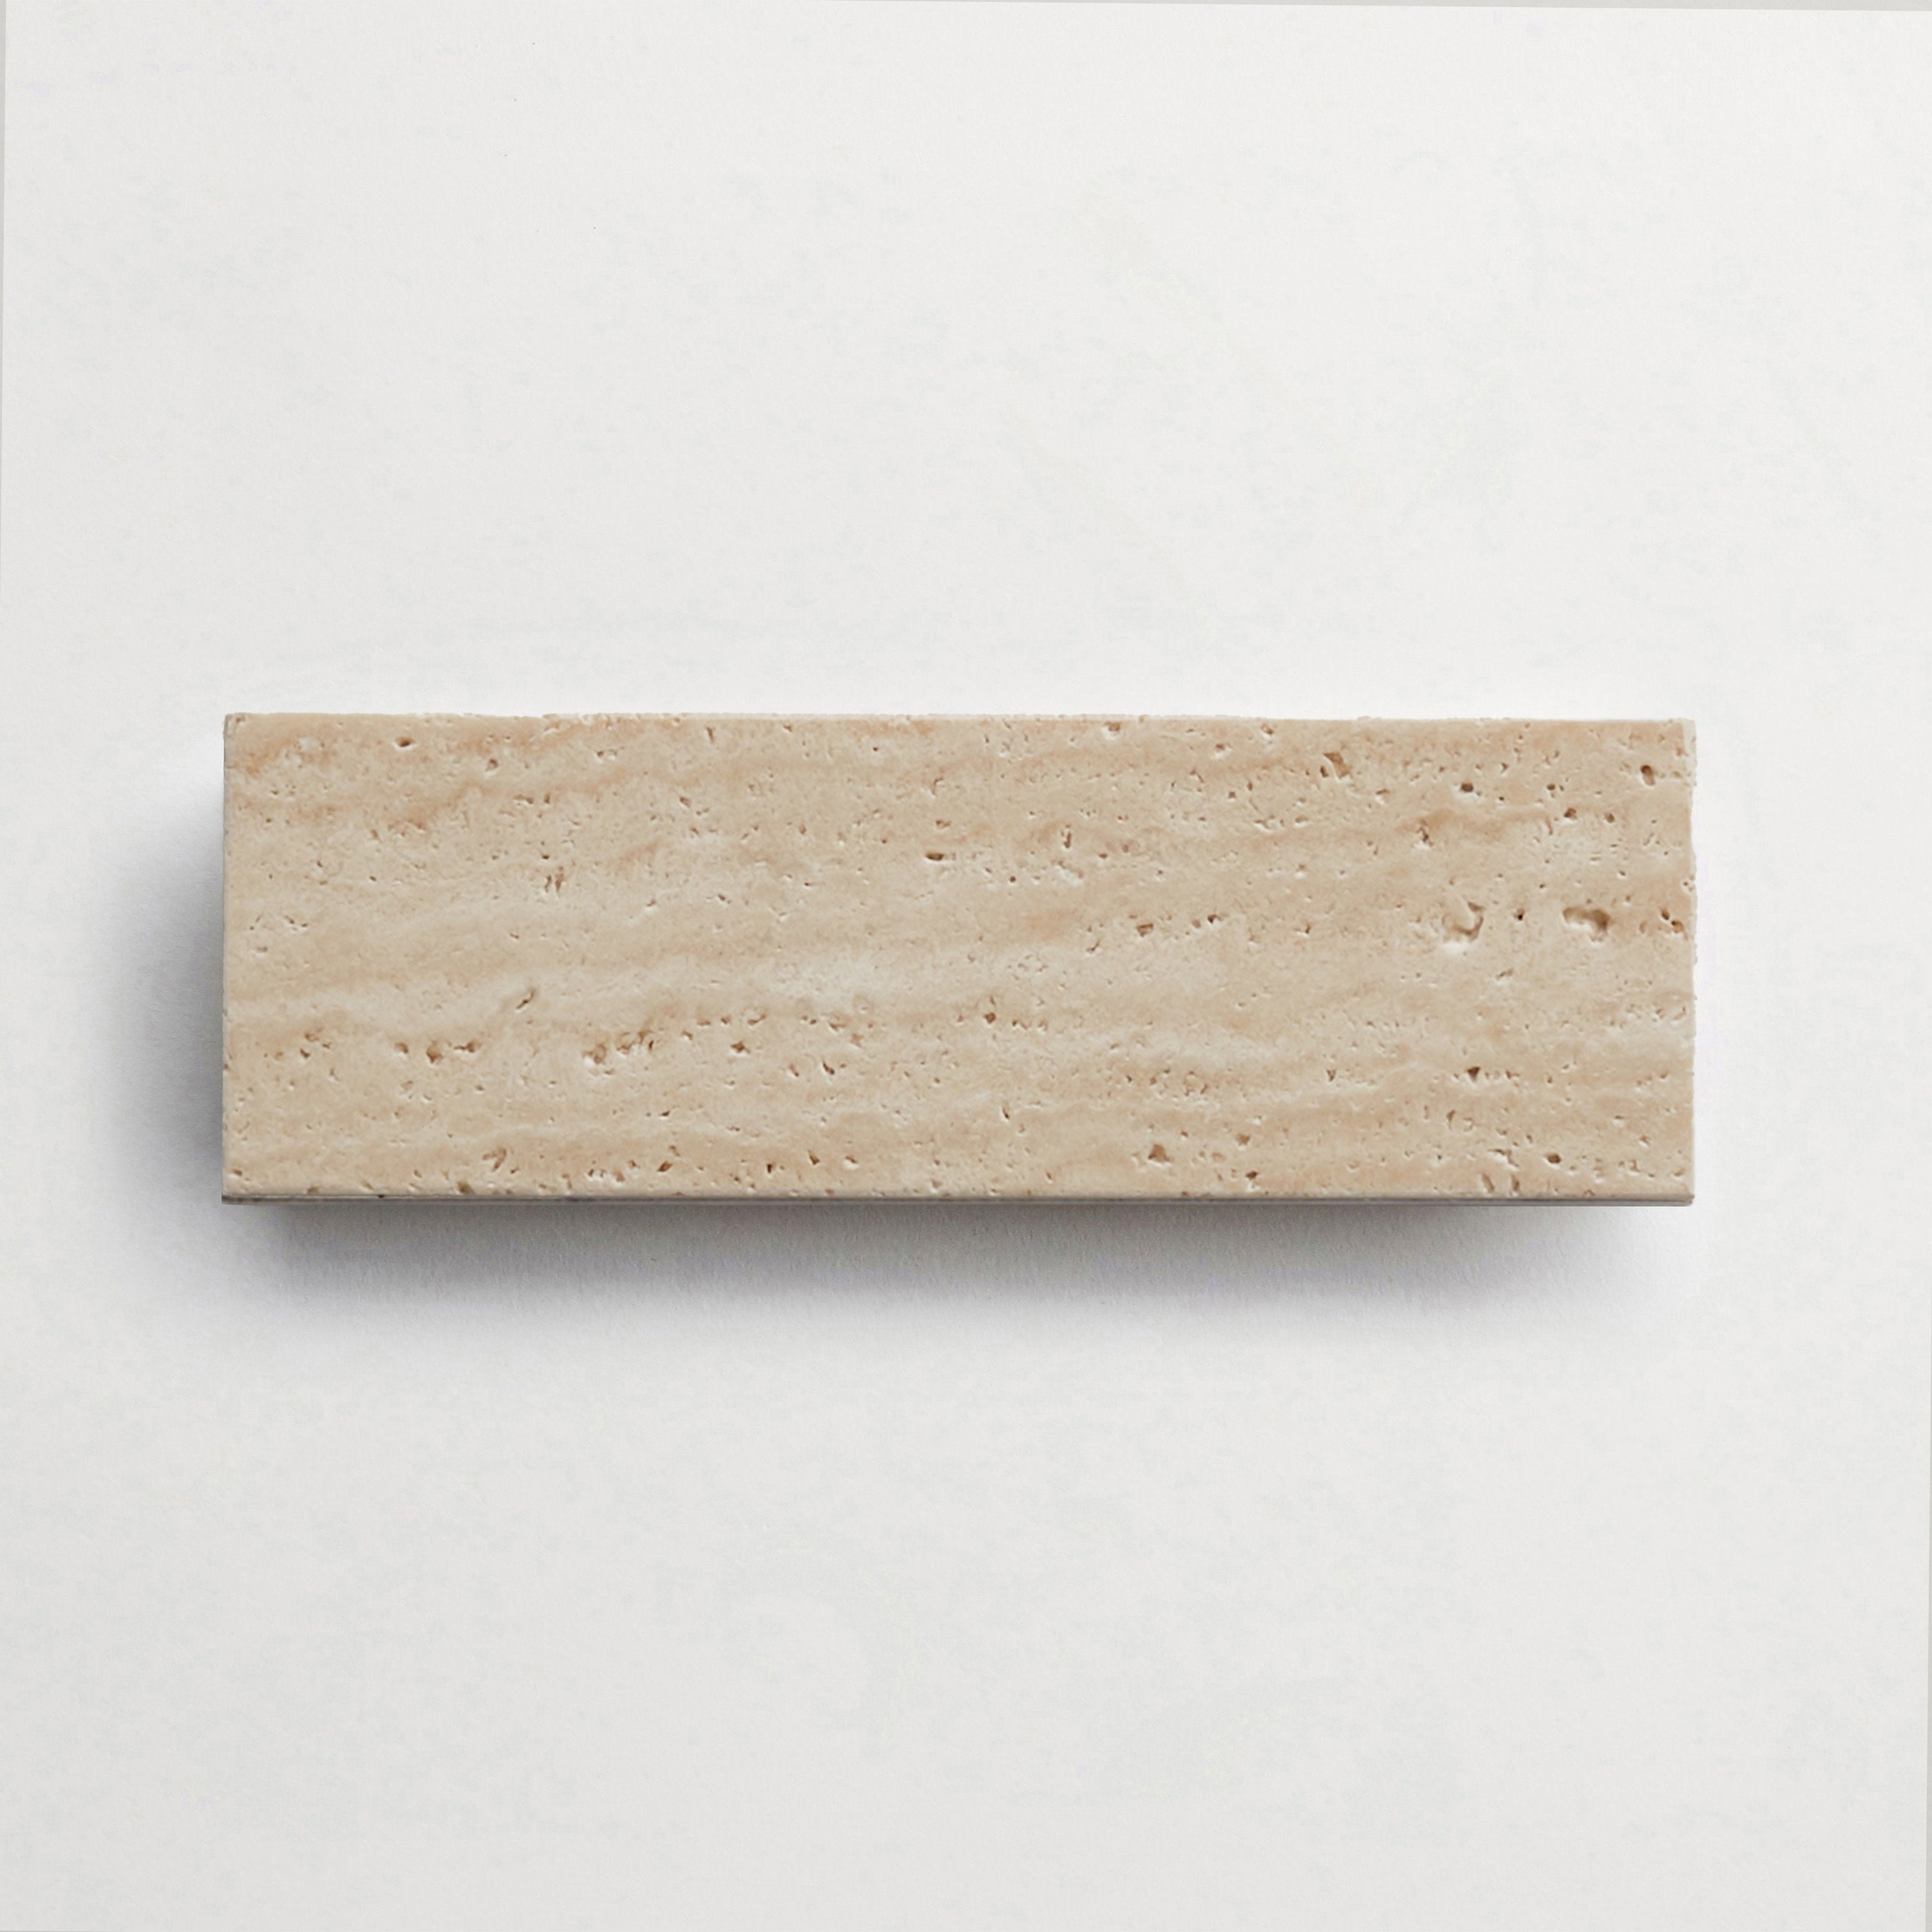
Colorway
-
Pampas Grass
Collection
-
BrickWorks
:
Sub Collection
-
le Disque
Material
Length
-
4
" x
Width
-
16
" x
Thickness
-
¾
"
Unit of Measurement
-
sqft
/
Price per Unit
$