
Lido, ½x½" Confetti. Photo courtesy of Charlota Blunarova.
How to Remove Calcium from Pool Tile by Tile Type
Calcium buildup is one of the most common pool maintenance challenges, yet one of the most common mistakes is treating every pool tile the same. What works safely on one surface can damage another, turning a straightforward cleaning task into an avoidable restoration project.
The professional approach starts with understanding the material itself. From porcelain and glass to ceramic and handcrafted finishes, each tile type responds differently to calcium deposits, cleaning agents, and removal techniques. Let’s break down how to remove calcium from pool tile by tile type, so you can choose the right method for the surface in front of you and preserve its appearance for years to come.

Photo courtesy of Leah Kar.


Understanding Calcium Buildup on Pool Tile
Not all calcium deposits are the same, and understanding the difference is the first step toward choosing the correct cleaning method. Broadly speaking, pool tile can develop two types of calcium buildup: calcium carbonate and calcium silicate. While both appear as mineral deposits left behind as pool water evaporates, they behave very differently and require different removal strategies. (Pool coping tile care is much the same.)
Calcium carbonate is the more common and easier-to-treat form of scale. It typically appears as a chalky white film or crust on the tile surface and forms when dissolved minerals precipitate out of water with elevated pH levels. Because calcium carbonate sits primarily on the surface layer, it generally responds well to mildly acidic cleaning solutions and can often be removed with relatively straightforward maintenance techniques.
Calcium silicate, by contrast, is denser, harder, and far more stubborn. Often appearing as a grey-white deposit, it develops over longer periods when water chemistry remains out of balance and minerals crystallize more deeply into the tile surface. Unlike calcium carbonate, calcium silicate does not readily dissolve when exposed to vinegar or other mild acids, making removal considerably more labor-intensive and often requiring specialized cleaning methods.
The Best Way to Remove Calcium from Pool Tile Depends on Your Tile
The most effective calcium removal strategy begins with the tile itself. Professional tile cleaners do not reach for the same tools, chemicals, or techniques on every surface because the material, finish, and texture of a tile determine which methods are safe and which can cause permanent damage.
Before treating any calcium deposit, it is important to identify both the type of scale and the tile beneath it. Porcelain pool tile, glass pool tile, and ceramic or artisan tile each respond differently to cleaning methods, requiring their own approach to protecting the surface while restoring its appearance. The sections below break down the safest and most effective strategies for each tile type.
Porcelain Pool Tile
Porcelain pool tile is generally the most forgiving surface when it comes to calcium removal. Its durability and low porosity allow it to tolerate a wider range of cleaning methods than many other pool tile materials, making it a practical choice for both residential and commercial installations.
For calcium carbonate deposits on glazed porcelain, start with a commercial calcium dissolver and allow adequate dwell time so the cleaner can break down the mineral buildup. A soft abrasive pad or tile eraser can then be used to gently remove the loosened scale. Once the deposit has been removed, thoroughly rinse the surface to prevent residue from remaining on the tile.
Unglazed porcelain requires a slightly different approach. For surface-level calcium carbonate, a pumice stone can be effective when used wet and with light pressure. The key is to keep both the tile and the pumice saturated throughout the process. A dry pumice stone should never be used, as it can increase the risk of scratching the surface.
More substantial calcium silicate buildup often requires professional intervention. Because silicate deposits are harder and more deeply bonded to the tile, professional-grade descalers or controlled bead blasting may be necessary to restore the surface safely. These methods should only be performed by experienced professionals familiar with finished porcelain tile.
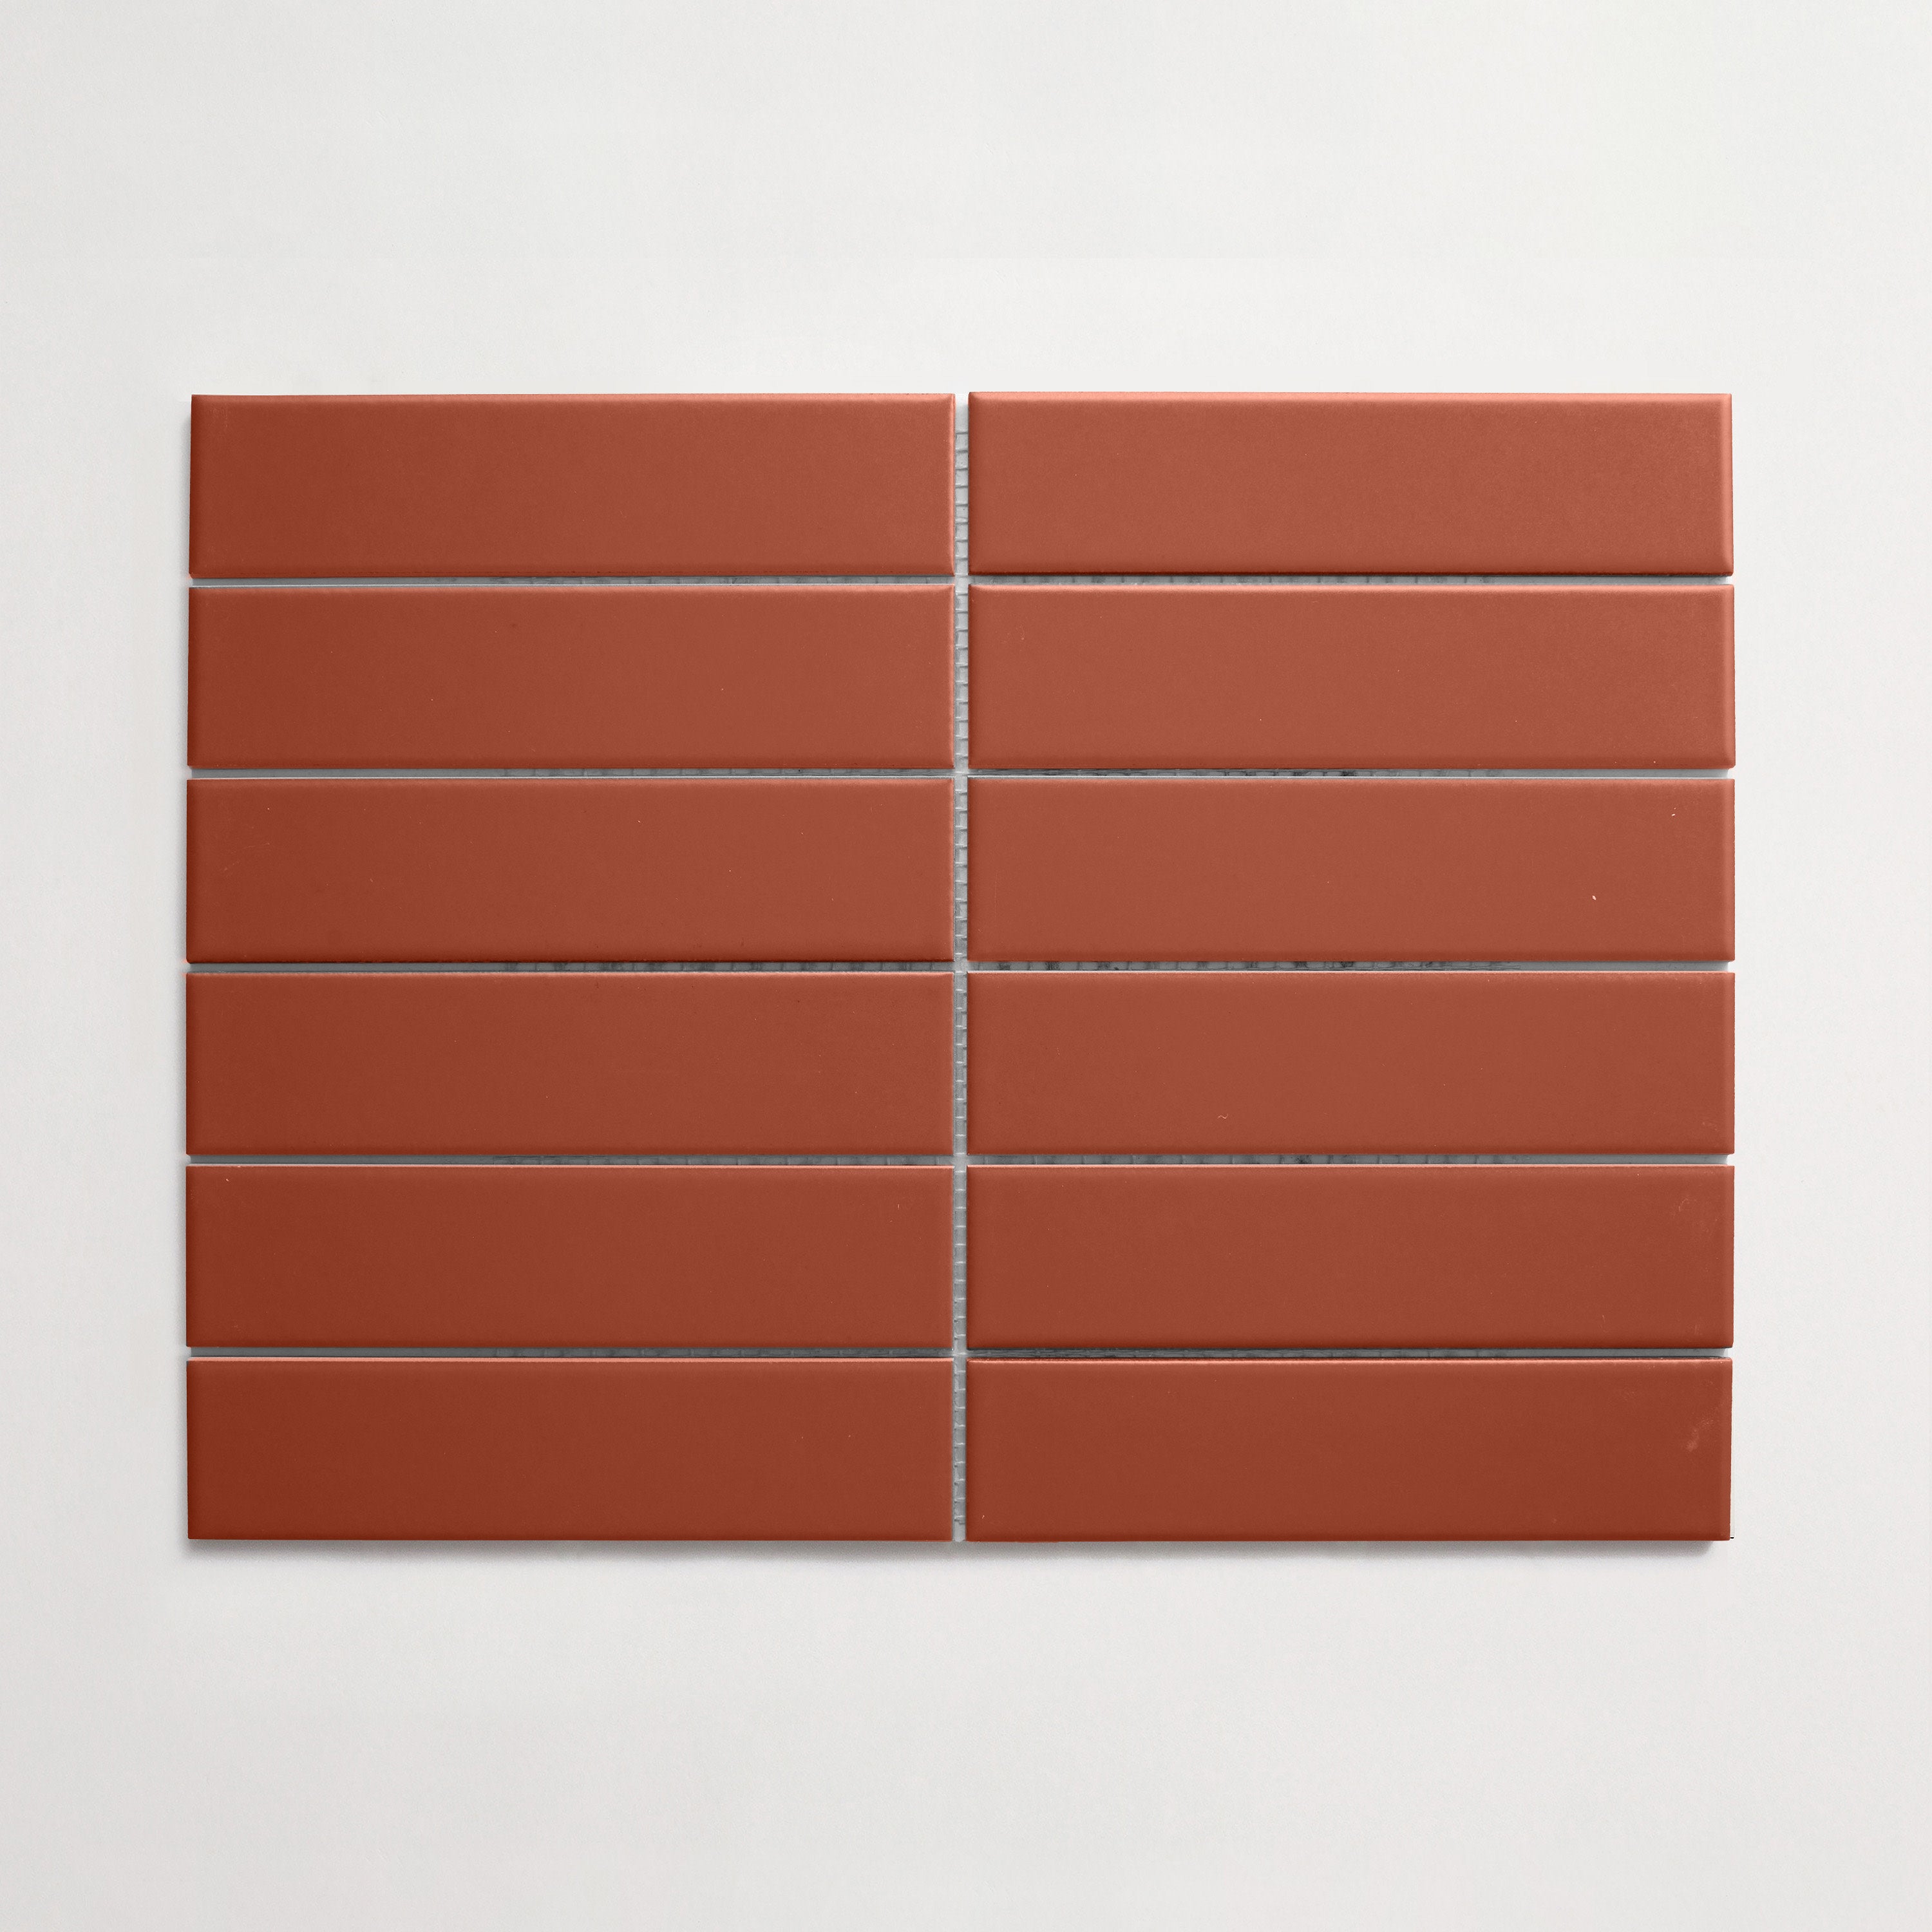
This durability is one reason porcelain remains a popular choice for pool environments, including artisanal options like OUTERclé's Lido pool tile collection, where the material's resilience is paired with a refined aesthetic designed for long-term outdoor performance.
Glass Pool Tile
Glass pool tile requires a more cautious approach than porcelain because its reflective surface can be scratched or dulled by aggressive cleaning methods. While glass is highly resistant to staining and moisture absorption, it is also the tile type that most visibly reveals calcium buildup, making routine maintenance especially important.
For calcium carbonate deposits, a diluted sulfamic acid solution is typically the safest and most effective option. Apply the solution with a soft cloth, allow it to dwell for approximately 10 to 15 minutes, then gently wipe away the loosened scale before rinsing the surface thoroughly with clean water. Abrasive tools should be avoided, and pumice stones should never be used on glass tile, as they can permanently scratch the surface.
Heavier calcium silicate deposits present a greater challenge. Because these hardened mineral accumulations do not readily dissolve with mild acidic treatments, professional intervention is often required. Depending on the severity of the buildup, specialists may use commercial-grade chemical treatments, ultrasonic cleaning methods, or carefully calibrated bead blasting techniques designed specifically for glass surfaces. These approaches require expertise, as excessive abrasion can permanently alter the tile's finish.
Because glass amplifies light, color, and reflection, even minor calcium deposits tend to be more noticeable than they are on other pool tile materials. Addressing buildup early helps preserve the clarity and brilliance that make glass tile such a distinctive choice for pools. For a more detailed look at ongoing maintenance, see our guide on how to clean glass pool tile.
Ceramic and Artisan Handcrafted Tile
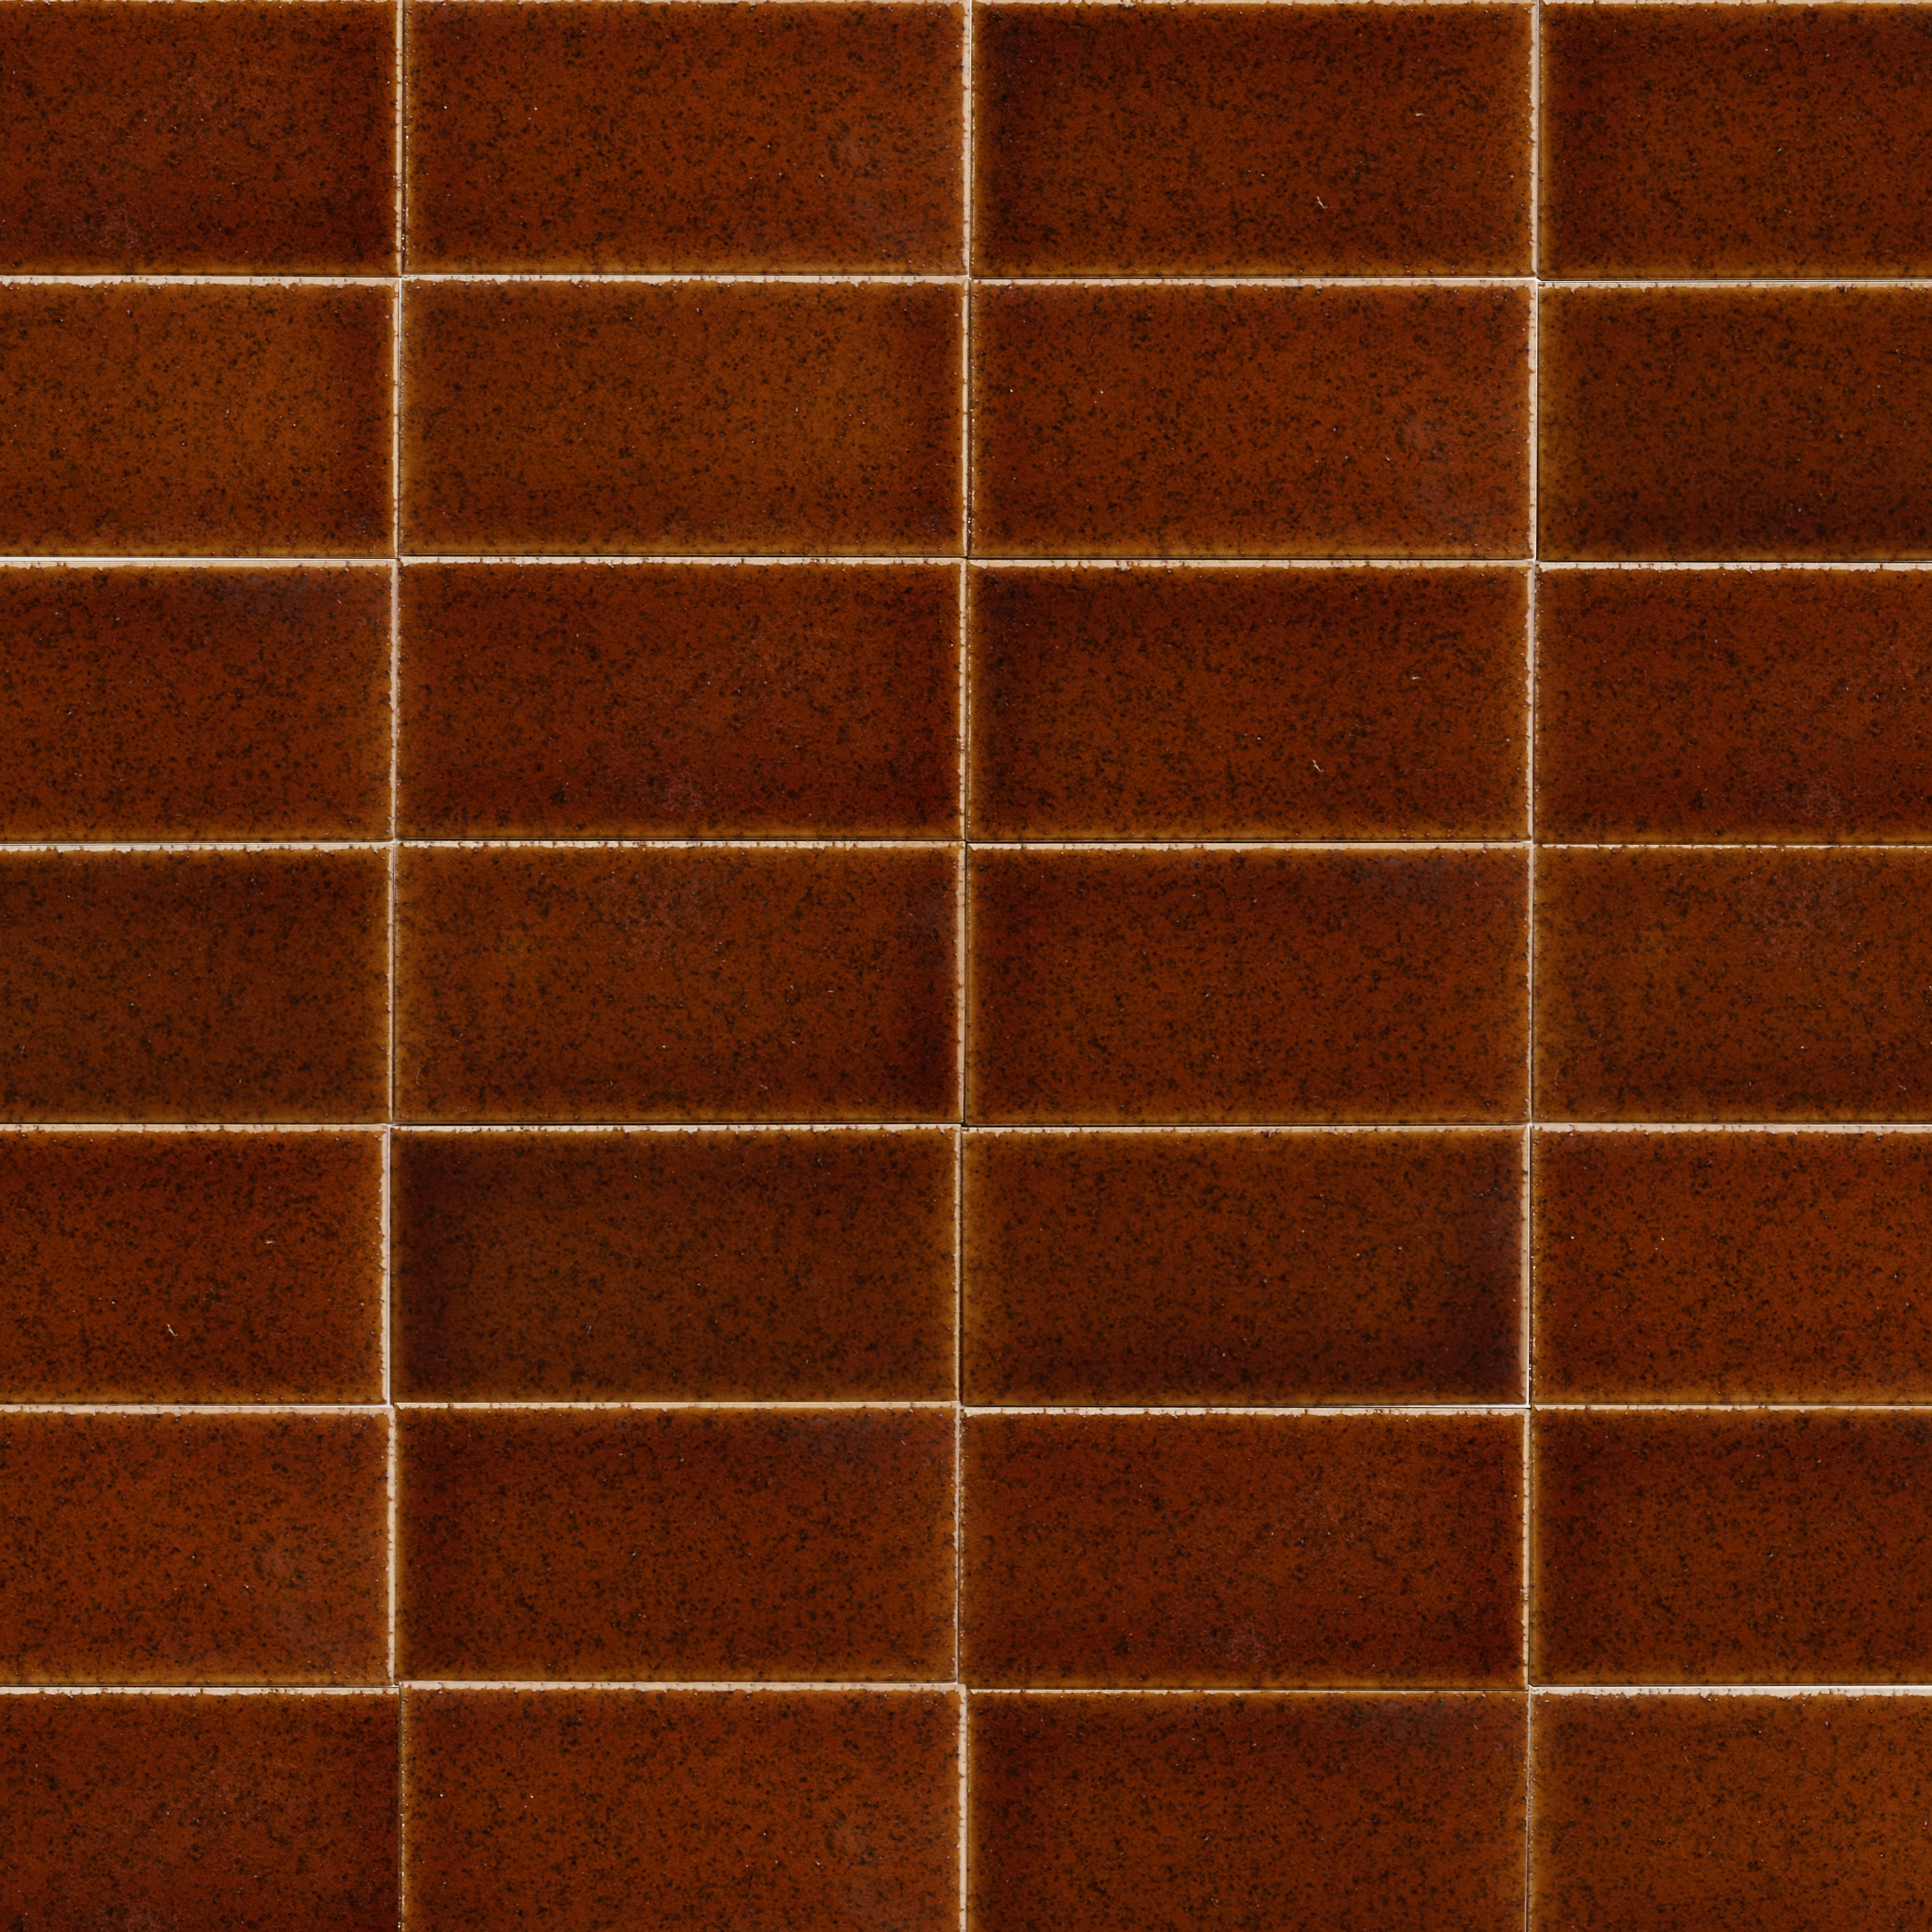
Ceramic and artisan handcrafted tile require the greatest degree of care during calcium removal. Unlike highly uniform manufactured surfaces, handcrafted tile often features subtle glaze variation, surface irregularities, texture, and material nuances that contribute to its character. These same qualities can also make the tile more vulnerable to aggressive cleaning methods, particularly abrasive tools that may permanently alter the finish. OUTERclé’s factory-made ceramic pool tile collection offers colorful, modern, industrial options ideal for any pool zone.
For calcium carbonate deposits, a professional-grade calcium dissolver paired with a soft brush is typically the safest approach. Allow the cleaner sufficient dwell time to break down the mineral buildup before gently removing the deposit and thoroughly rinsing the surface. Abrasive pads should be avoided, as they can scratch, dull, or unevenly wear delicate glazed and handcrafted finishes.
Steam cleaning can also be an effective option for calcium carbonate removal because it relies on heat rather than direct abrasion. When properly controlled, steam can help loosen surface deposits while minimizing chemical exposure to the tile. However, temperature and pressure must be carefully managed, making this a method best left to experienced professionals familiar with handcrafted surfaces.
For intricate mosaics, textured installations, and highly detailed artisan tile, ultrasonic cleaning is often the preferred professional solution. By using sound waves to dislodge mineral buildup, ultrasonic systems minimize physical contact with the tile surface, reducing the risk of damage while effectively reaching areas that are difficult to clean by hand.
The stakes are higher with artisan tile because the wrong cleaning method can remove the very qualities that make the material special. Surface texture, glaze variation, and handcrafted character are design features, not imperfections. Preserving those qualities should always be the priority when addressing calcium buildup on ceramic and artisan pool tile.

How to Remove Calcium Deposits from Pool Tile: Step by Step
While the specific cleaning method will vary depending on whether you're working with porcelain, glass, ceramic, or artisan tile, the overall process follows the same sequence. The key is knowing where the approach should change based on the tile material and the type of calcium deposit present.
The steps below provide a practical framework for addressing pool tile scale safely and effectively, with material-specific considerations at each stage to help protect the surface while achieving the best possible cleaning results.
Step 1: Balance the Water Chemistry
Before attempting to remove any calcium deposits, correct the underlying water chemistry that allowed the scale to form in the first place. Lower the pool's pH to the recommended range of 7.2 to 7.6 and adjust total alkalinity to between 80 and 120 PPM. These levels help reduce ongoing mineral precipitation and create more favorable conditions for calcium removal.
Calcium hardness should also be evaluated before treatment begins. In most pools, a target range of 200 to 400 PPM is appropriate. If calcium hardness is significantly above this level, addressing the source of the imbalance should be part of the remediation plan alongside the cleaning process itself.
This step is often overlooked, but it is arguably the most important one. Removing calcium deposits without correcting the water chemistry that caused them simply creates the conditions for new scale to form, turning calcium removal into a recurring cycle rather than a lasting solution.
Step 2: Identify the Calcium Type
Once the water chemistry has been corrected, determine whether you're dealing with calcium carbonate or calcium silicate. As discussed earlier, a small amount of muriatic acid can help identify the deposit: if the scale foams or bubbles on contact, it is likely calcium carbonate; if there is little or no reaction, calcium silicate is the more likely cause.
This distinction is critical because the two deposit types respond very differently to treatment. Calcium carbonate can often be dissolved or loosened with appropriate acidic cleaners, while calcium silicate typically requires more aggressive professional removal methods and will not respond to mild acid-based solutions alone.
Skipping this step often leads to unnecessary frustration. Choosing the wrong treatment for the wrong calcium type wastes time at best and, at worst, can expose the tile to cleaning methods that are ineffective, overly aggressive, or potentially damaging to the surface.
Step 3: Apply the Right Method for Your Tile
With water chemistry corrected and the calcium type identified, the next step is selecting a treatment method that matches the tile material. This is where a material-first approach becomes essential, since each surface responds differently to abrasion, acidity, and heat. What is safe for one tile type may permanently damage another.
As a general guide, pumice stones are appropriate only for unglazed porcelain and should always be used wet to avoid scratching. Soft abrasive pads or tile erasers can be used on glazed porcelain and many ceramic surfaces, where they help lift calcium carbonate without compromising the finish. Glass pool tile requires a much more controlled approach, using carefully diluted acid solutions applied with soft cloths, and typically under professional supervision due to its sensitivity and reflective surface.
For artisan, handcrafted, and intricate mosaic tile, non-contact or low-impact methods such as steam cleaning or ultrasonic cleaning are preferred, as they preserve glaze variation and surface detail while removing buildup. Muriatic acid should be treated as a last-resort, high-risk solution and is generally only appropriate for concrete or plaster pool surrounds. It should never be used on glass, glazed ceramic, or artisan tile without professional guidance, and always requires full protective equipment and strict handling protocols due to its corrosive nature.
Step 4: Run the Filter and Allow Circulation Time
After treatment has been applied and deposits have been loosened or removed, run the pool filtration system continuously to help circulate the water and carry away suspended mineral particles. Proper circulation ensures that residual cleaner, dislodged calcium, and fine debris are evenly distributed through the system and captured by the filter rather than resettling on tile surfaces.
Allow sufficient time for the water to fully cycle through the system before reassessing the tile surface. In most cases, this circulation period is essential for revealing the true results of the cleaning process, as remaining haze or loosened scale often clears only after the system has had time to process the water thoroughly.
Step 5: Spot Treat and Reassess
After the initial treatment and circulation cycle, inspect the tile closely for any remaining deposits. Small residual patches are not uncommon, but they provide important diagnostic information about what you are dealing with and how the surface is responding to treatment.
If isolated spots persist, carefully spot treat those areas using the same material-appropriate method established earlier in the process. However, repeated resistance is a key signal to pause and reassess rather than continue escalating on your own. In many cases, stubborn remaining deposits indicate calcium silicate rather than calcium carbonate, meaning the buildup is more deeply bonded and less responsive to standard cleaning approaches.
At this stage, the most effective path forward is often professional intervention. Escalating to specialized methods rather than repeating the same treatment helps prevent unnecessary wear on the tile surface while ensuring the underlying issue is addressed correctly and safely.
How to Clean Calcium Buildup on Pool Tile Before It Becomes a Problem
The professional standard for pool tile care is not defined by removal, but by prevention. Calcium buildup becomes significantly more difficult to address once it hardens into scale, which is why early-stage maintenance is treated as the most important line of defense. At this stage, the goal is to manage light mineral film before it develops into bonded deposits that require more intensive intervention.
Early calcium carbonate film typically responds well to simple, consistent maintenance. A soft pool brush used every two to three months, paired with a pH-neutral tile cleaner, helps prevent minerals from accumulating on the surface. This routine approach keeps deposits in their earliest, most manageable form and preserves the integrity of the tile finish over time.
For light maintenance only, a diluted white vinegar solution can also be used to address early mineral film. However, it is important to understand that vinegar is not a treatment for established scale, particularly calcium silicate or hardened deposits. Its role is limited to gentle upkeep at the surface level, not restoration.
The professional mindset is to intervene early and consistently, keeping buildup in its initial stages where it can be managed with minimal effort. Once calcium progresses beyond this point, what begins as routine maintenance quickly shifts into a far more complex restoration process.


Preventing Calcium Buildup on Pool Tile
Preventing future calcium buildup on pool tile is as important as addressing existing scale, and in professional pool care it is often the more strategic focus. A proactive approach helps maintain balanced water conditions, reduces the likelihood of mineral deposits forming, and preserves the visual clarity and material integrity of the tile surface over time. It also helps avoid avoidable swimming pool tile repair or replacement that can result from long-term neglect of water chemistry and surface maintenance.
At the foundation of prevention is consistent water management, including routine monitoring of pH, alkalinity, and calcium hardness. When these levels are kept within the proper range, the water is far less likely to precipitate minerals onto tile surfaces. Equally important is recognizing that prevention is not only a maintenance practice but also a specification-stage consideration, where material choice and finish selection influence how easily a surface resists scale formation in the first place.
Sealants and protective treatments can also play a role depending on the tile type. While not appropriate for every material, the right sealer can reduce porosity in natural stone and certain unglazed surfaces, helping slow mineral absorption and making routine cleaning more effective. When combined with balanced water chemistry and regular light maintenance, these preventive strategies create a more stable environment that protects both the appearance and longevity of the pool tile system.
Professional Sealant Application at Installation
One of the most effective ways to reduce calcium buildup on pool tile is to apply a professional-grade sealant after installation, with reapplication as needed over time. When properly selected and applied, sealants create a protective barrier that reduces direct contact between pool water and the tile surface, significantly limiting mineral adhesion and making routine maintenance more manageable.
Because performance depends entirely on material compatibility, sealant selection must always be matched to the specific tile type. Formulations suitable for natural stone such as travertine pool deck tile differ significantly from those designed for porcelain or glazed ceramic surfaces, and using the wrong product can compromise both appearance and performance. This is why sealant selection should always follow the manufacturer’s guidelines for the specific swimming pool tile material being installed.
Reapplication is not arbitrary but should follow the tile manufacturer’s recommended schedule and environmental conditions of the pool. Framing this as a specification-stage decision, rather than a maintenance afterthought, ensures that long-term protection is built into the design from the beginning. When addressed early, sealant strategy becomes an integral part of preserving both the aesthetic clarity and structural longevity of the pool tile system.
Water Chemistry Management
Consistent water chemistry management is one of the most effective long-term strategies for preventing calcium buildup on pool tile. Maintaining proper balance in pH, calcium hardness, and alkalinity helps reduce the conditions that cause minerals to precipitate out of the water and bond to tile surfaces. When these levels remain stable, the risk of scale formation decreases significantly, preserving both the clarity of the water and the integrity of the tile finish.
As a baseline practice, pH should be tested weekly to ensure it remains within the ideal range, while calcium hardness and total alkalinity should be monitored at least monthly. In pools with consistently high hardness levels, chemical choices can also make a meaningful difference. For example, switching from calcium hypochlorite shock to dichlor or liquid chlorine can help reduce additional calcium introduction into the system over time.
After any descaling treatment, incorporating a stain and scale preventer into the weekly maintenance routine can further help stabilize conditions and slow future buildup. For designers and professionals advising clients, emphasizing water chemistry as an ongoing discipline rather than a reactive fix leads to significantly better long-term outcomes. Proper balance not only supports healthier pool water but also protects the appearance and longevity of pool tile surfaces for years to come.
Hard Water Considerations
In regions with notably hard water supply, addressing mineral content at the source can significantly reduce long-term calcium buildup on pool tile. Water softeners and ion-exchange systems help lower overall water hardness by reducing the concentration of calcium and other dissolved minerals before they ever enter the pool system.
These systems operate by exchanging calcium ions with sodium ions, effectively decreasing the water’s tendency to form scale on tile surfaces over time. While not always necessary in all climates, they can be especially valuable in areas where incoming water consistently tests high in hardness, as they help slow the rate at which calcium accumulates on pool finishes.
Because this decision impacts long-term maintenance and material performance, it is best considered at the design stage for new builds or major renovations in hard water regions. When integrated early, water treatment strategies like softening or ion exchange become part of a broader preventative system that protects both pool tile appearance and overall system stability.
When to Call a Professional
There is a clear point in calcium removal where routine maintenance should stop and professional intervention becomes the more appropriate path forward. Recognizing this threshold is essential for protecting both the tile surface and the overall integrity of the pool design.
If calcium silicate deposits remain after two full treatment cycles, it is a strong indication that the scale has bonded too deeply for standard methods to be effective. At this stage, continued home treatment risks unnecessary surface wear without meaningful improvement. Similarly, any installation involving artisan, mosaic, or glass tile should be approached with caution, as these materials carry a higher risk of permanent damage when exposed to abrasive or misapplied cleaning techniques.
Professional methods such as bead blasting and pressure washing can be highly effective for severe scale, but only when carefully calibrated to the specific tile and installation. Incorrect application can permanently damage tile surfaces and compromise grout lines, making expertise essential rather than optional. For high-value or delicate surfaces, ultrasonic cleaning is often the preferred solution, as it removes buildup with minimal physical contact and preserves the original finish.
Ultimately, the investment in quality pool tile warrants a commensurate level of care (as with any outdoor tile—see our outdoor tile maintenance guide) . Professional restoration is not simply a matter of convenience; it is about protecting design intent, material longevity, and the visual integrity of the space.
Effective calcium management is ultimately about knowing when to act and when to escalate, ensuring that each material receives the level of care it requires. When approached with this mindset, maintenance becomes a way to preserve design rather than correct damage.
Explore OUTERclé’s pool tile collections, where materials are crafted to endure beautifully with the right care, and designed to maintain their character over time.


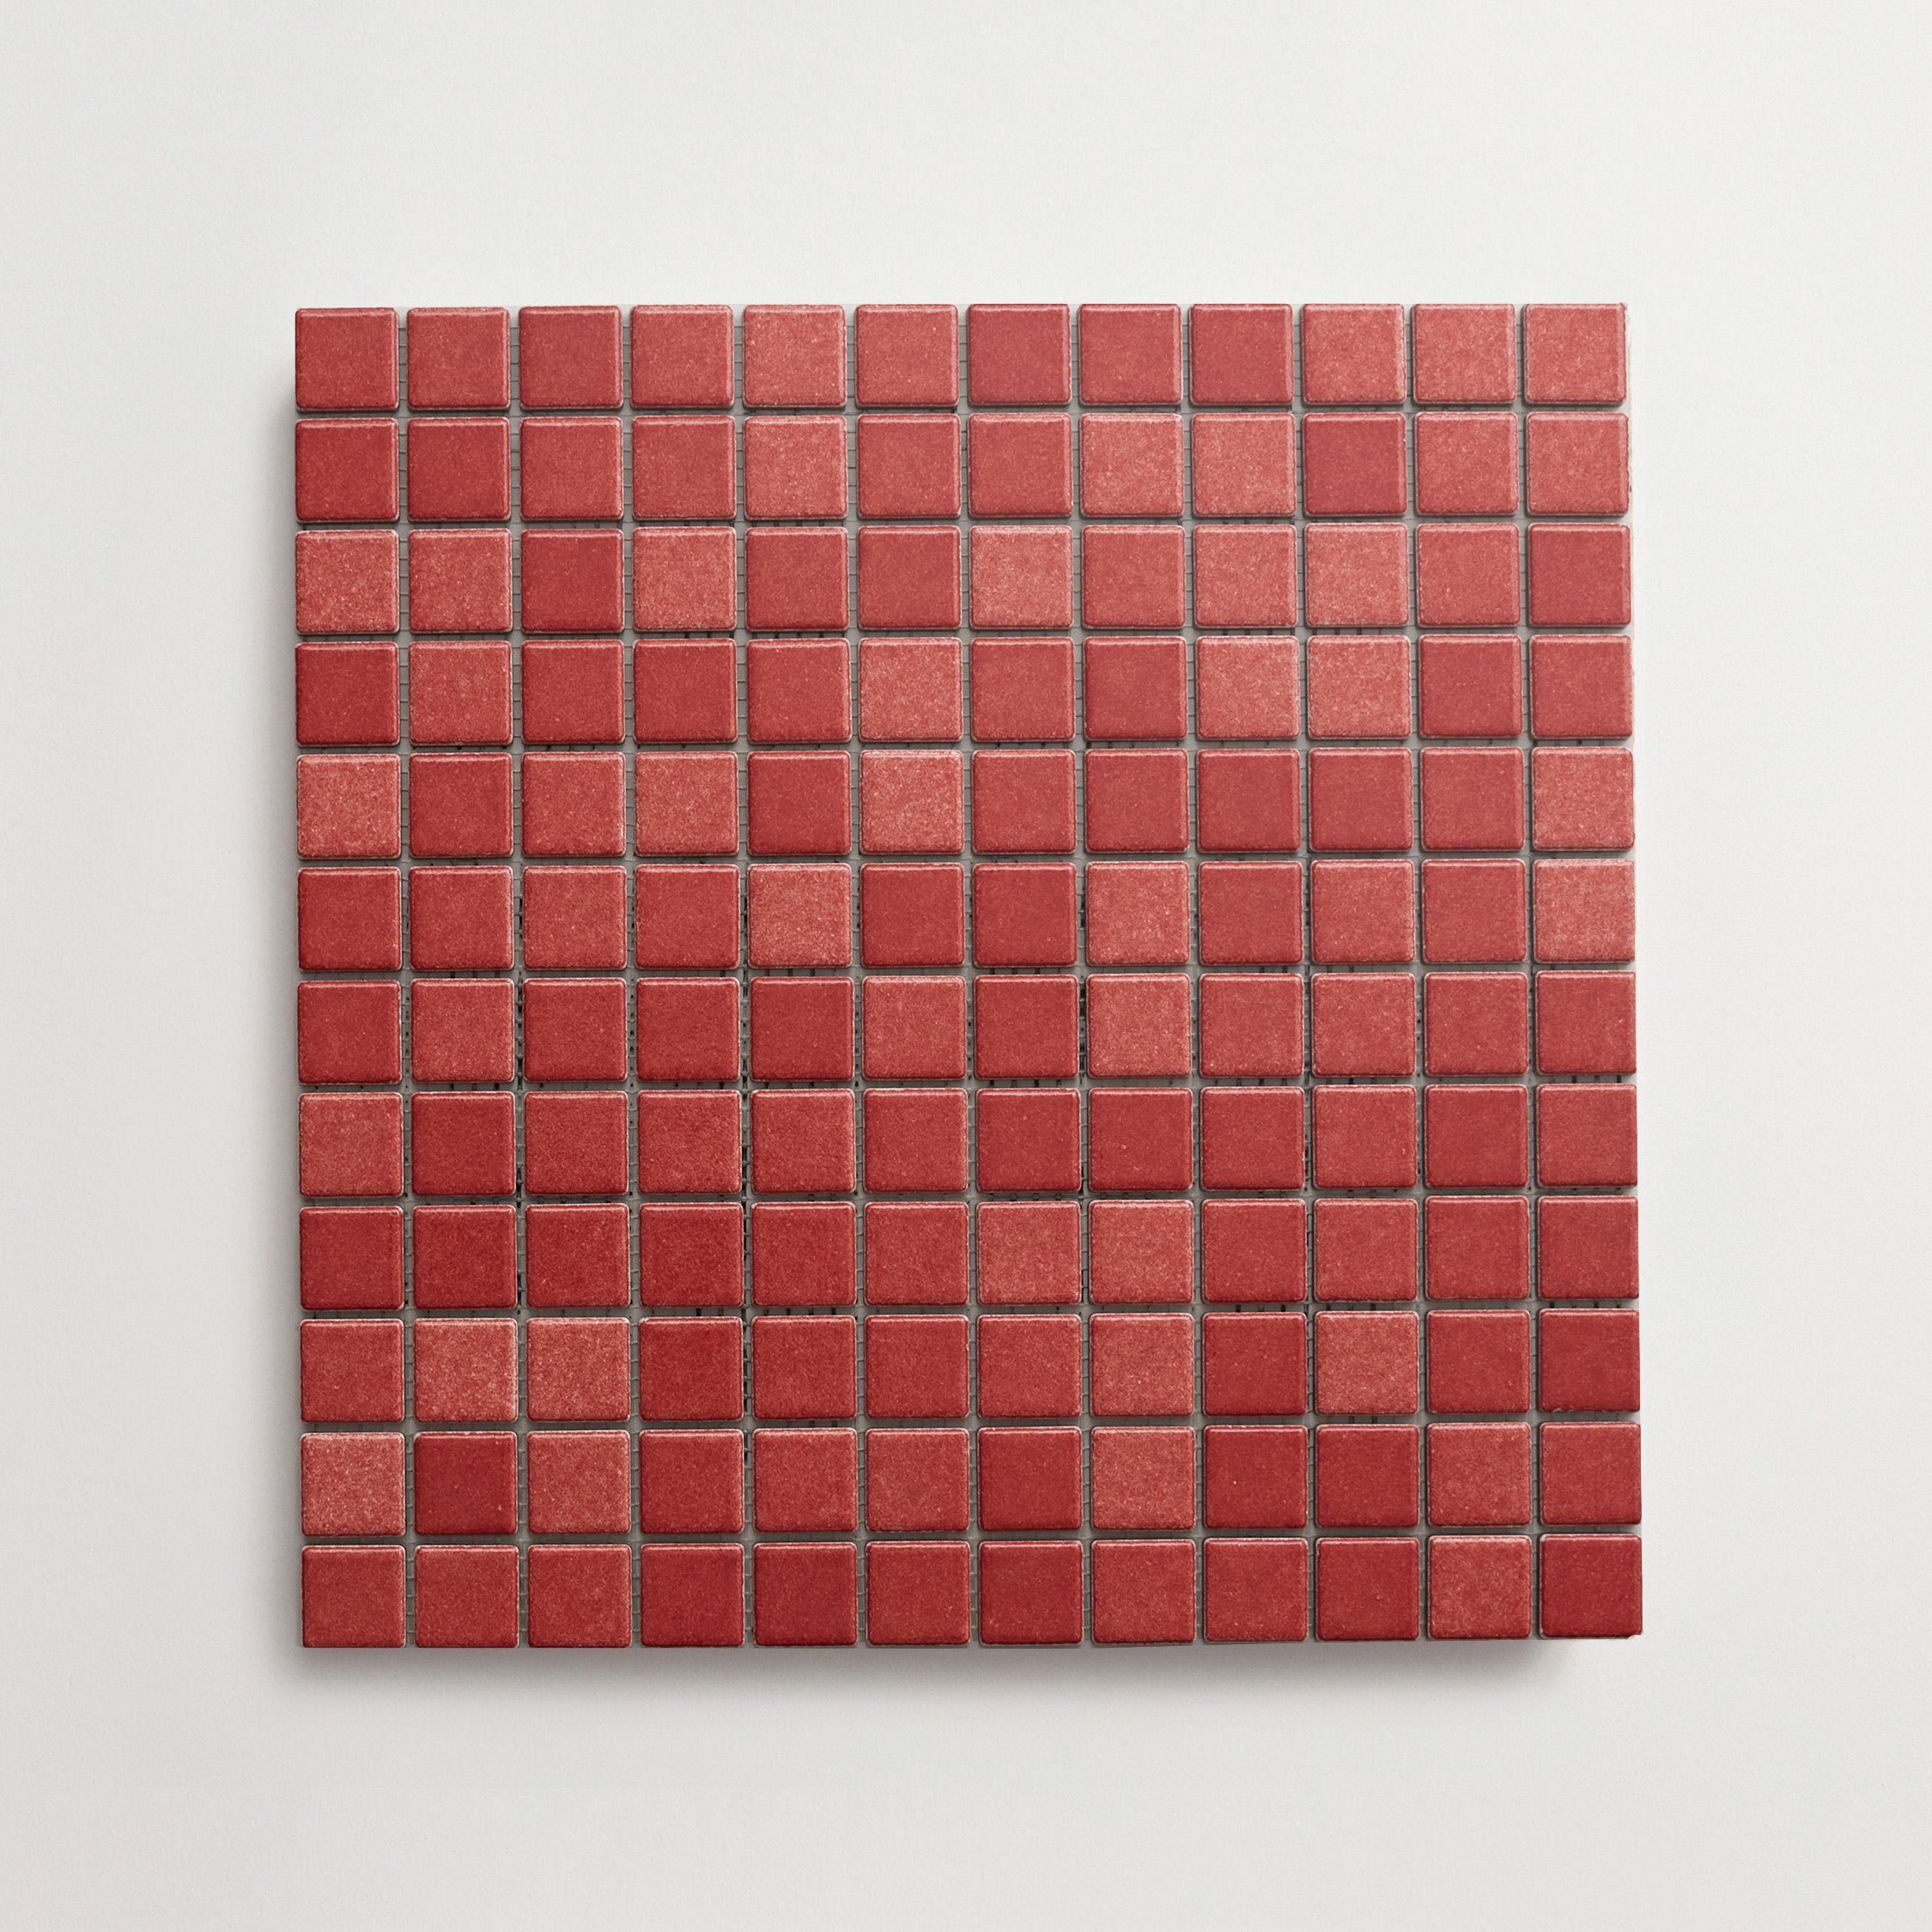
Colorway
-
Queen's Red
Collection
-
Colorwerks
:
Sub Collection
-
Chromatope
Material
Length
-
4
" x
Width
-
4
" x
Thickness
-
¼
"
Unit of Measurement
-
sqft
/
Price per Unit
$


Colorway
-
Terra C
Collection
-
Dzek + Formafantasma
:
Sub Collection
-
ExCinere
Material
Length
-
4
" x
Width
-
16
" x
Thickness
-
¾
"
Unit of Measurement
-
sqft
/
Price per Unit
$


Colorway
-
Red Water Lily
Collection
-
Lido
:
Sub Collection
-
Florilegium
Material
Length
-
8
" x
Width
-
8
" x
Thickness
-
⅞
"
Unit of Measurement
-
sqft
/
Price per Unit
$